
Installing XProxy Kit
Setting up your XProxy Kit is as simple as plug and play — 5 steps from box to running proxies.
What's in the box
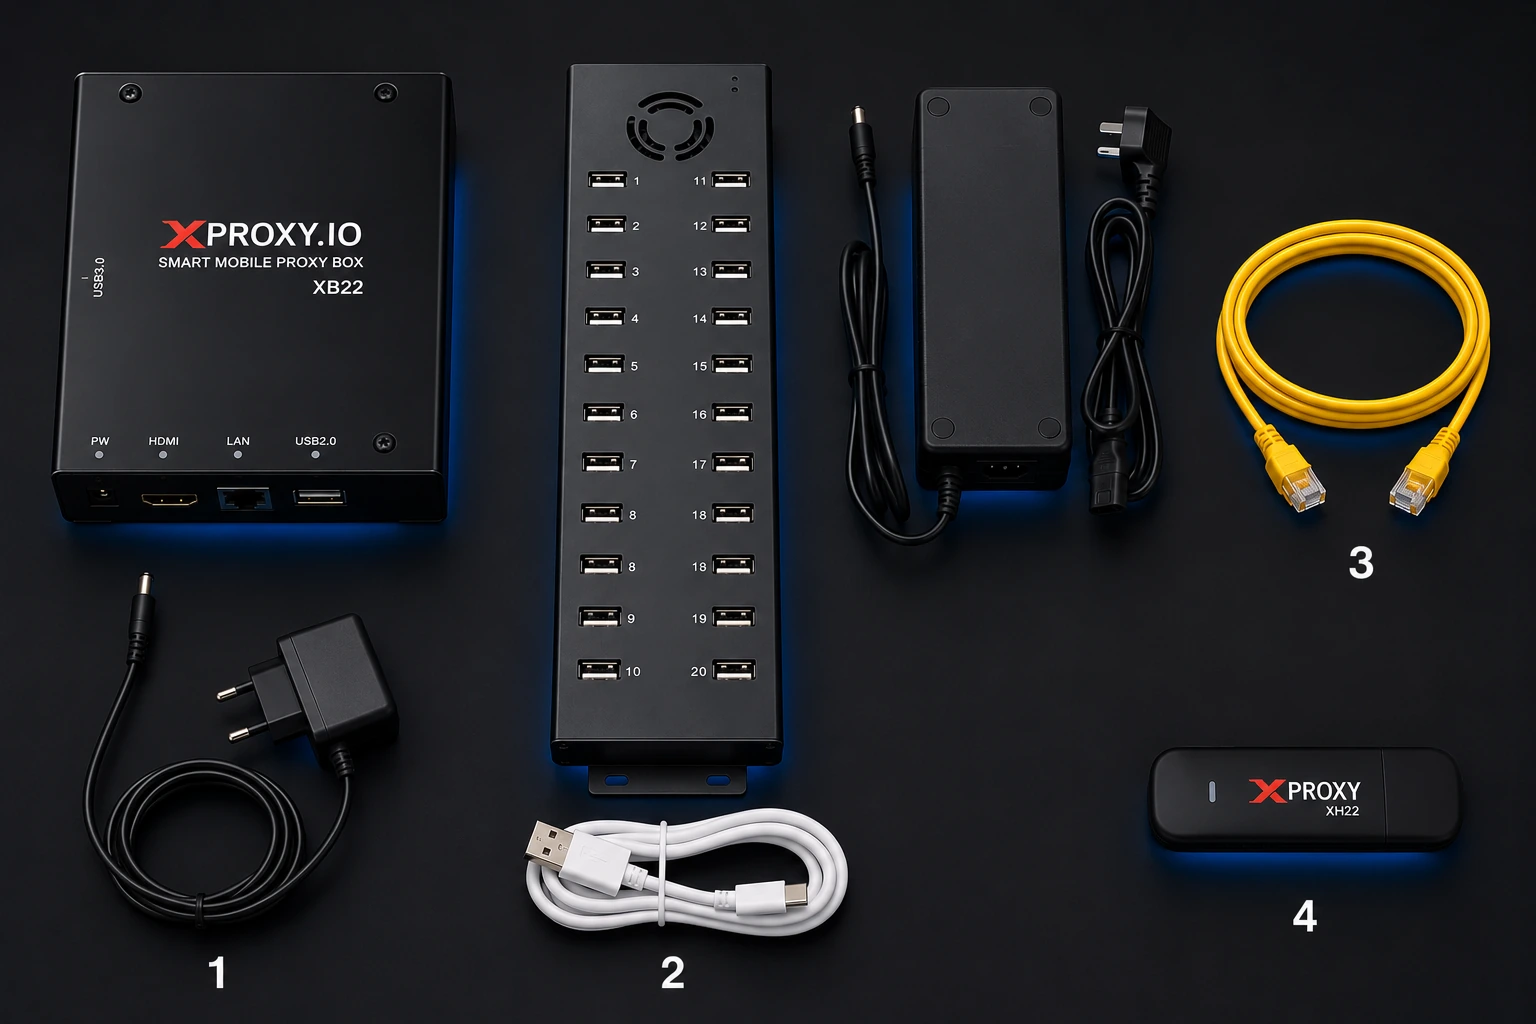
- XProxy box and 5V adapter.
- USB hub with 12V adapter and data cable.
- Ethernet cable between the XProxy box and your Router / Modem.
- XProxy dongles.
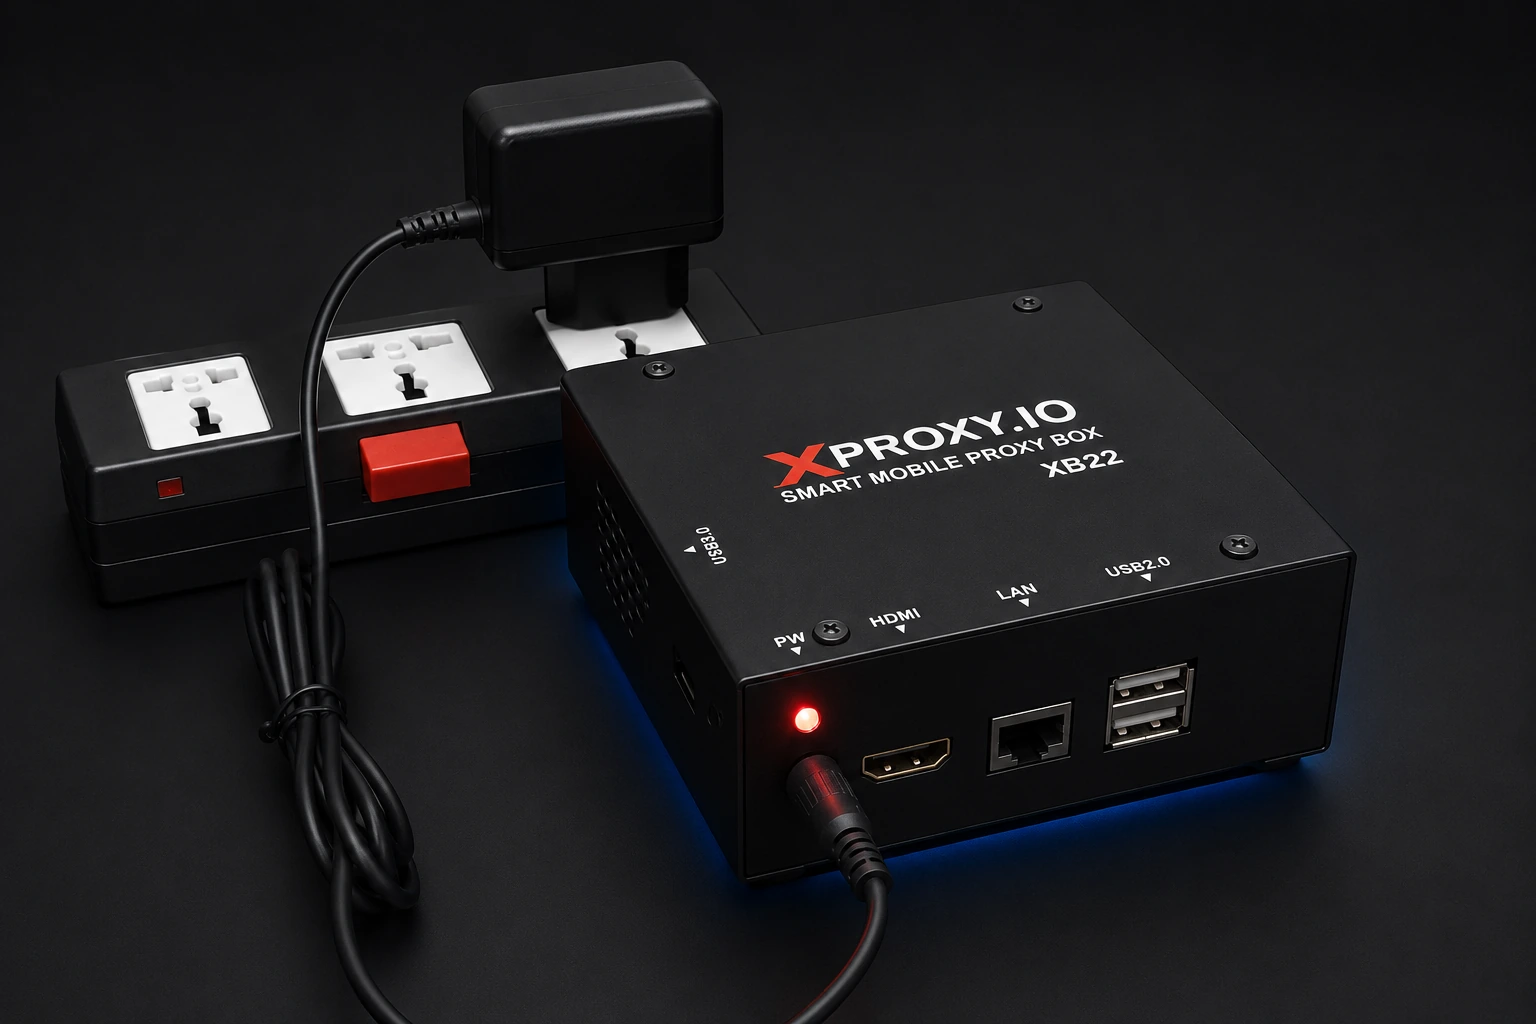
Step 1 — Connect the XProxy box power
The XProxy box adapter is 5V. Be careful not to confuse it with the USB hub's 12V adapter — both have the same physical connector.
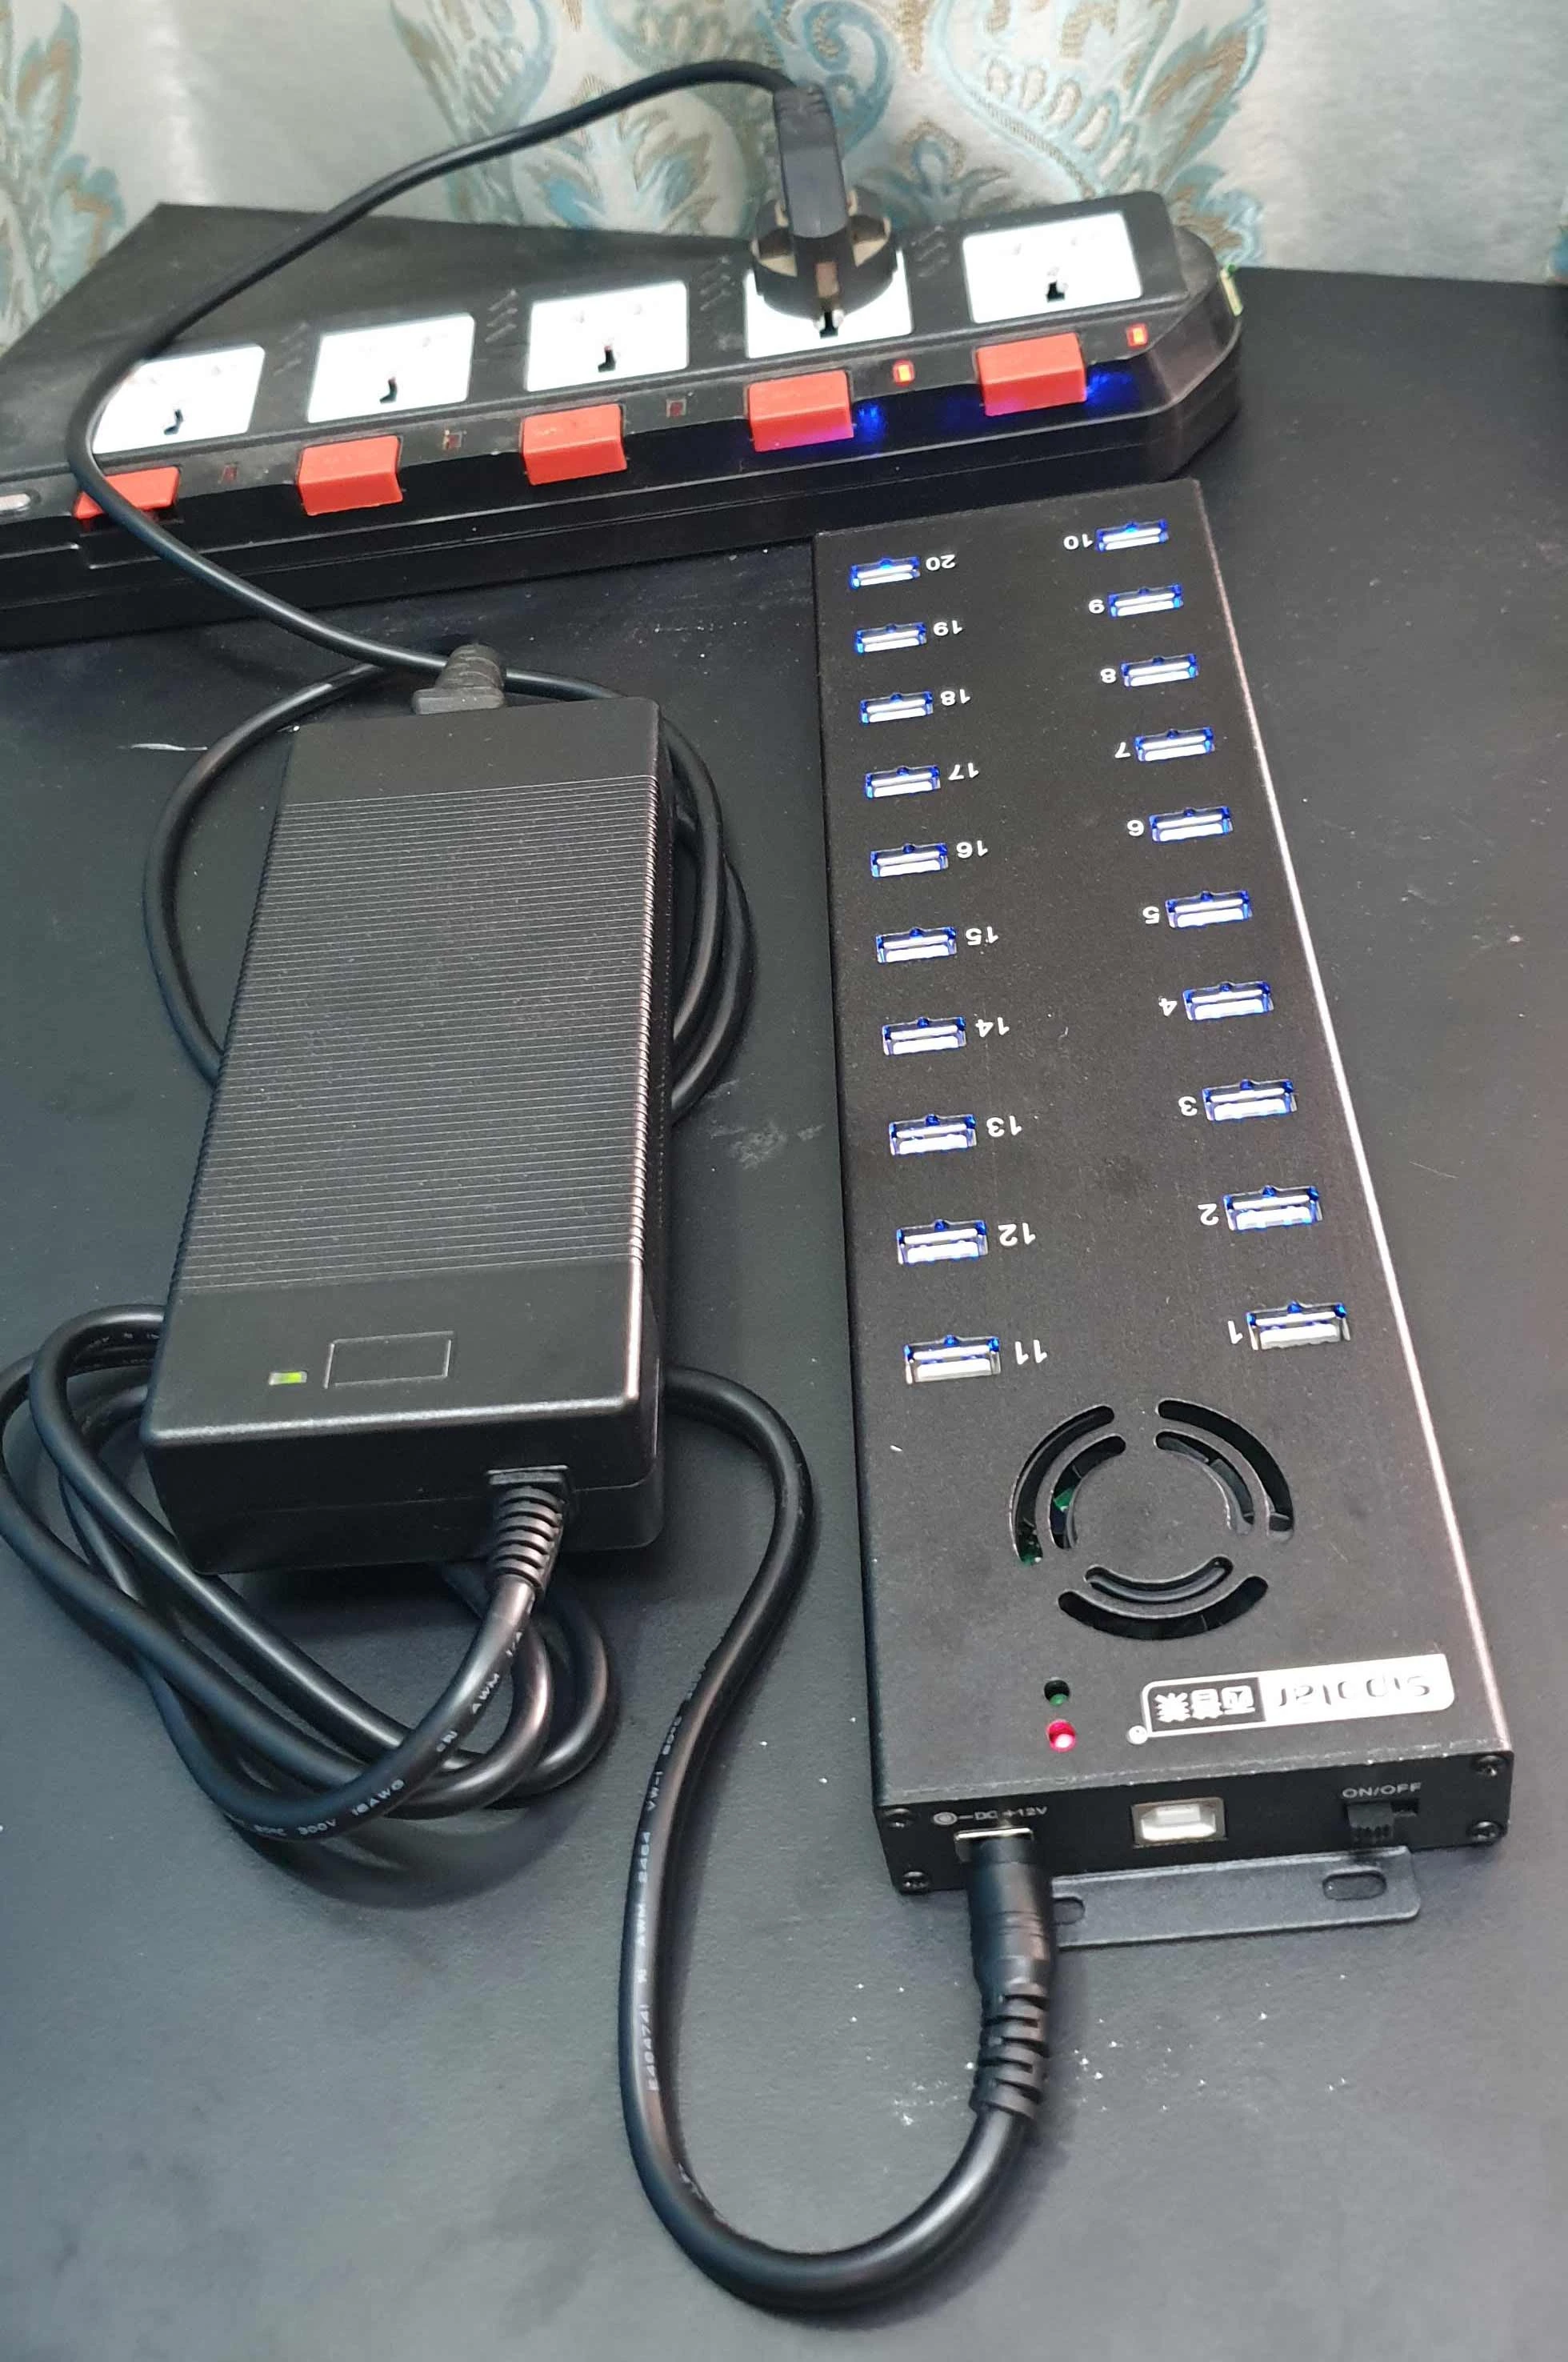
Step 2 — Connect the USB hub power
The USB hub adapter is 12V. Never connect anything other than the 12V adapter. The hub has an On/Off switch for quickly cycling power.
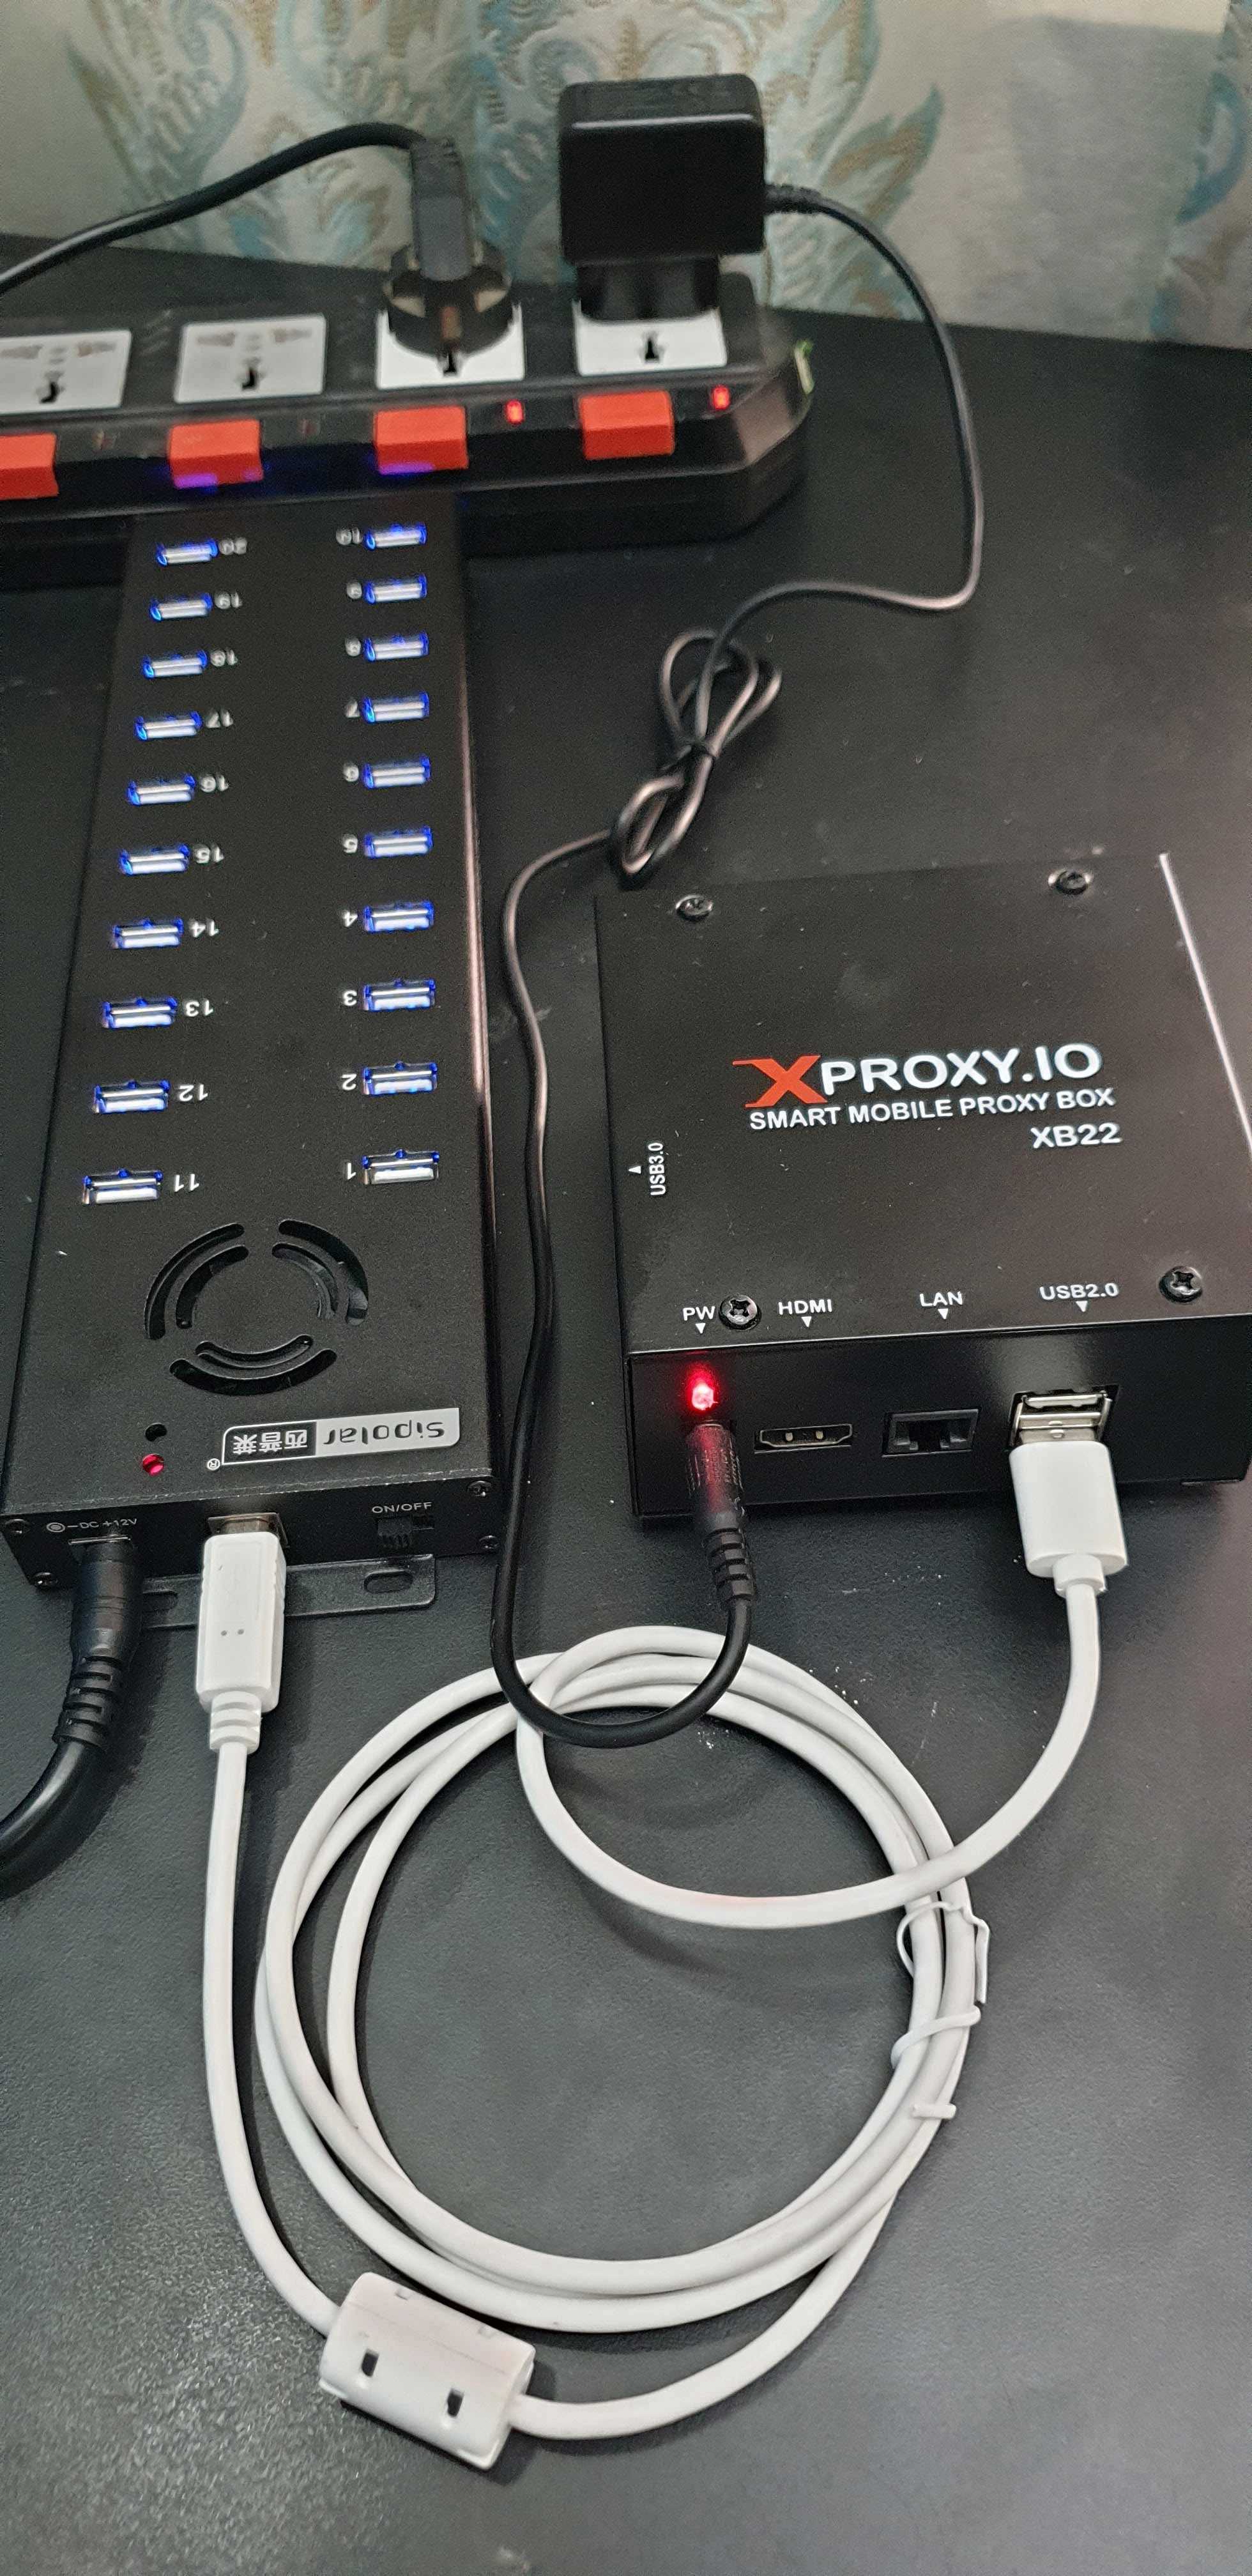
Step 3 — Connect data cable between XProxy and hub
The XProxy box has 2× USB 2.0 ports and 1× USB 3.0 port. You can chain multiple USB hubs from a single box.
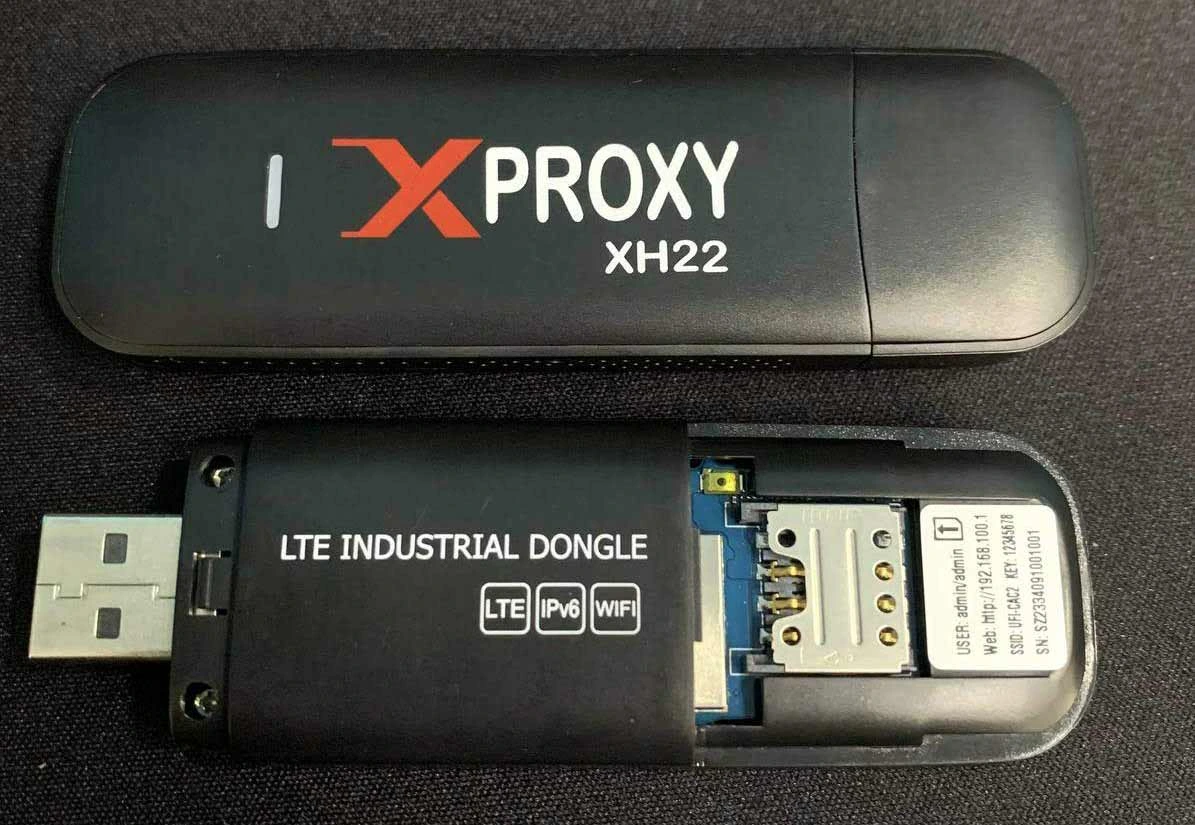
Step 4 — Insert SIM cards into dongles
XProxy XH22 dongles match the speed of popular dongles and rotate IPs about 2× faster than Huawei / ZTE units.
Step 5 — Connect Ethernet to your Router
Make sure your Router / Modem is connected to the Internet, then plug the Ethernet cable between it and the XProxy box.
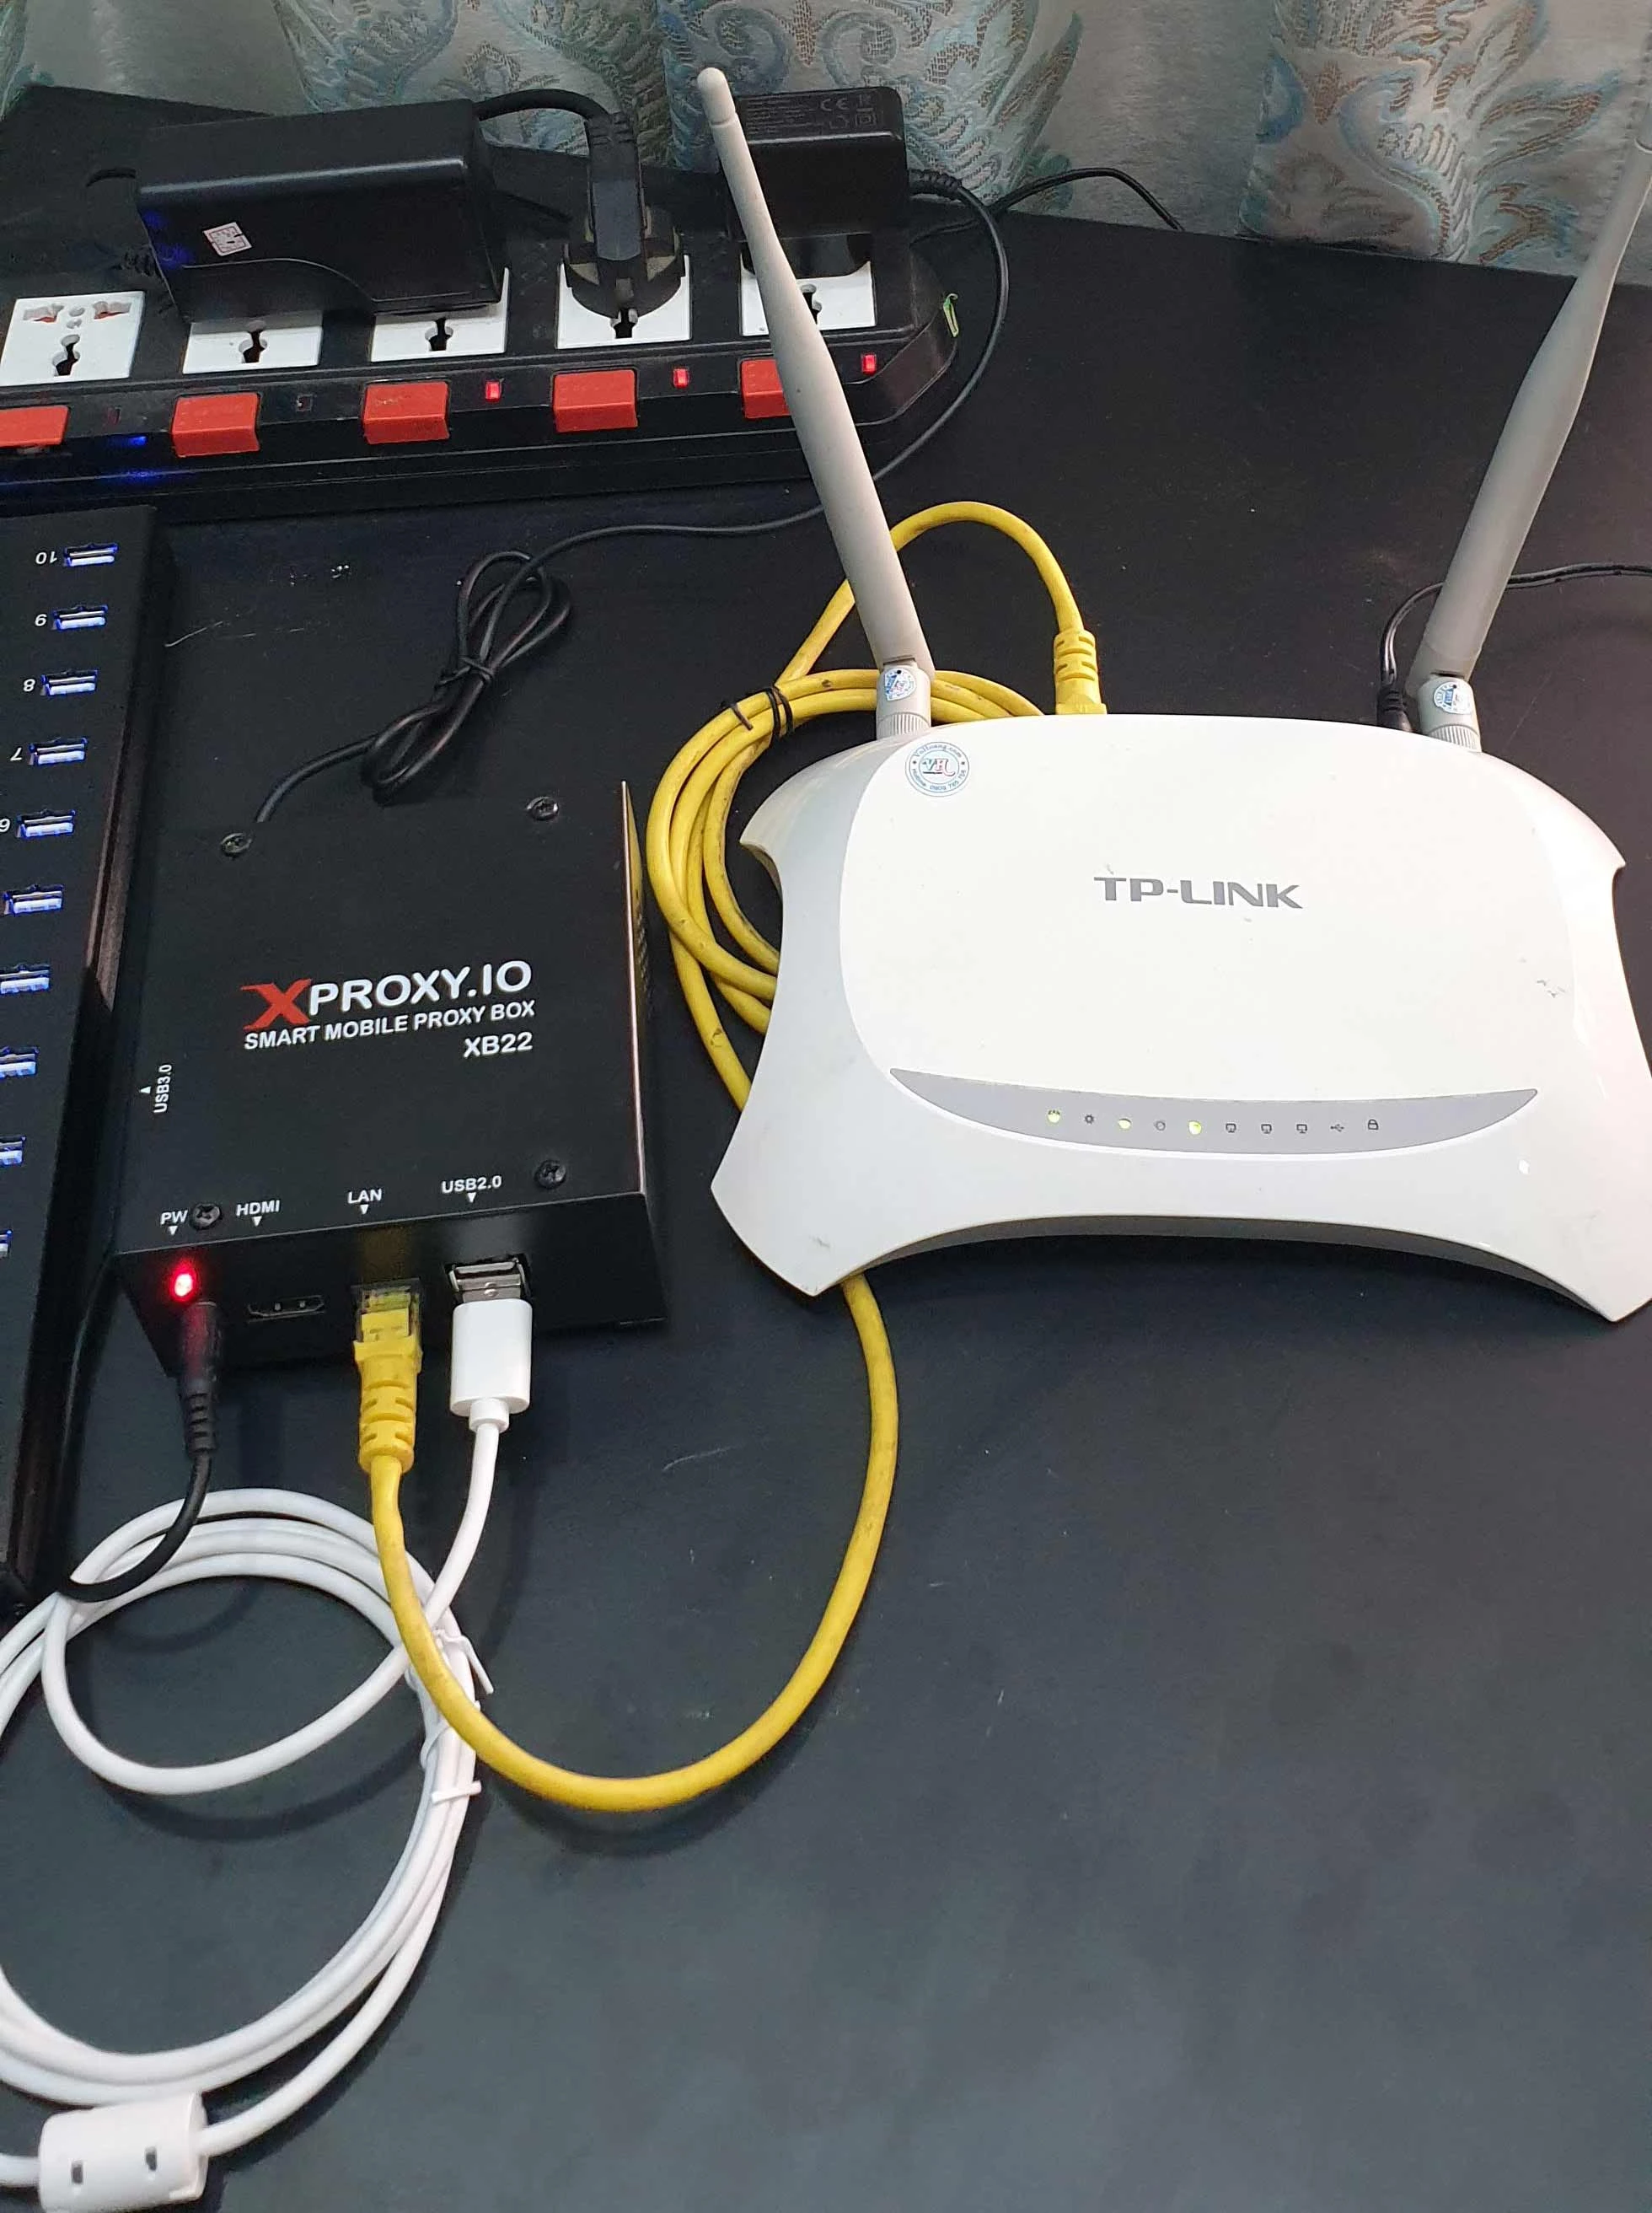
Power everything on and your proxy system is ready. Continue with Access dashboard of XProxy, then Activate / upgrade the License to unlock paid features.
Was this page helpful?
