By default XProxy Server is running, your proxy is readily available for use within the same Local Area Network (LAN). However, if you wish to use the proxy from a remote location, you will need to configure the Network Address Translation (NAT) address of XProxy Server. In addition, this tutorial will demonstrate how to secure your dashboard when accessing it from public internet.
There are 2 steps to configure the NAT address of XProxy Server by DMZ:
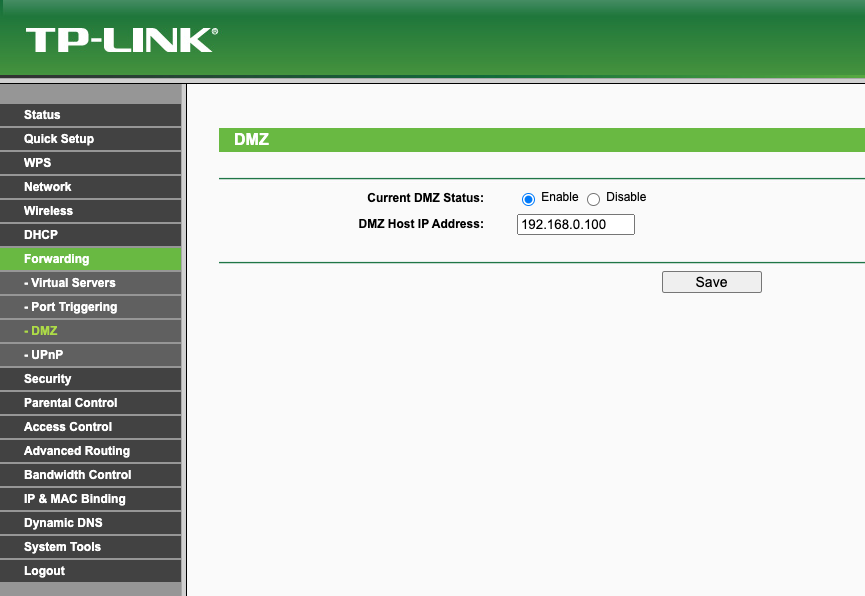
Depending on your Router / Modem, the function of Forwarding > DMZ will be different, but most cases this feature in Security setting. You can search Google to get detail with the keyword: How to DMZ Your Router Brand
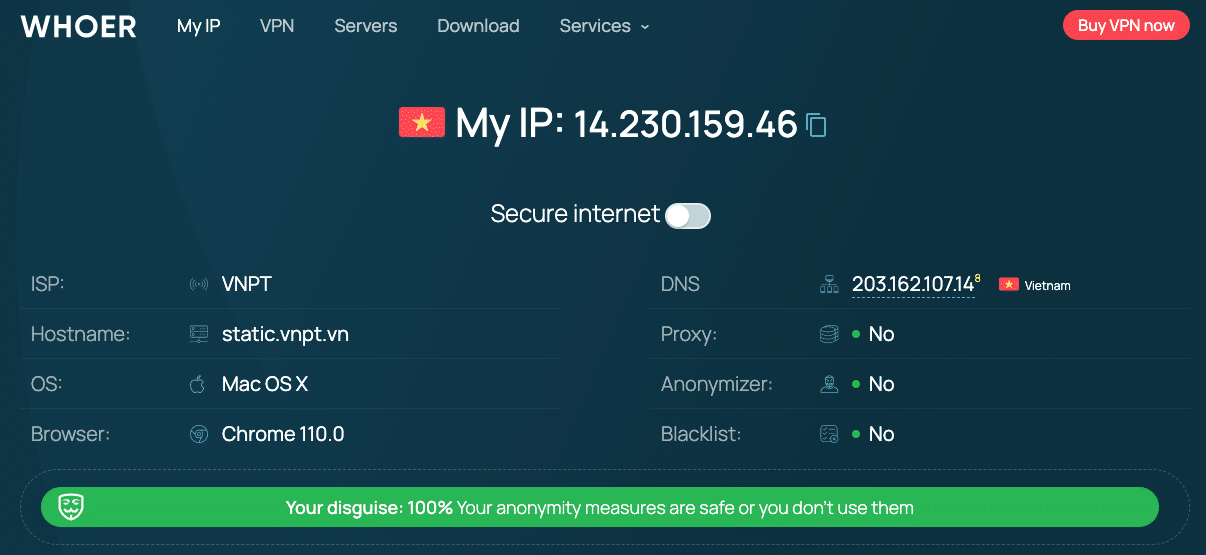
Your proxy system is now accessible from difference place. To access it, simply determine the public IP of your modem and enter it from the internet to enter the XProxy dashboard. The next step, we will guide you configure password authentication for the dashboard.
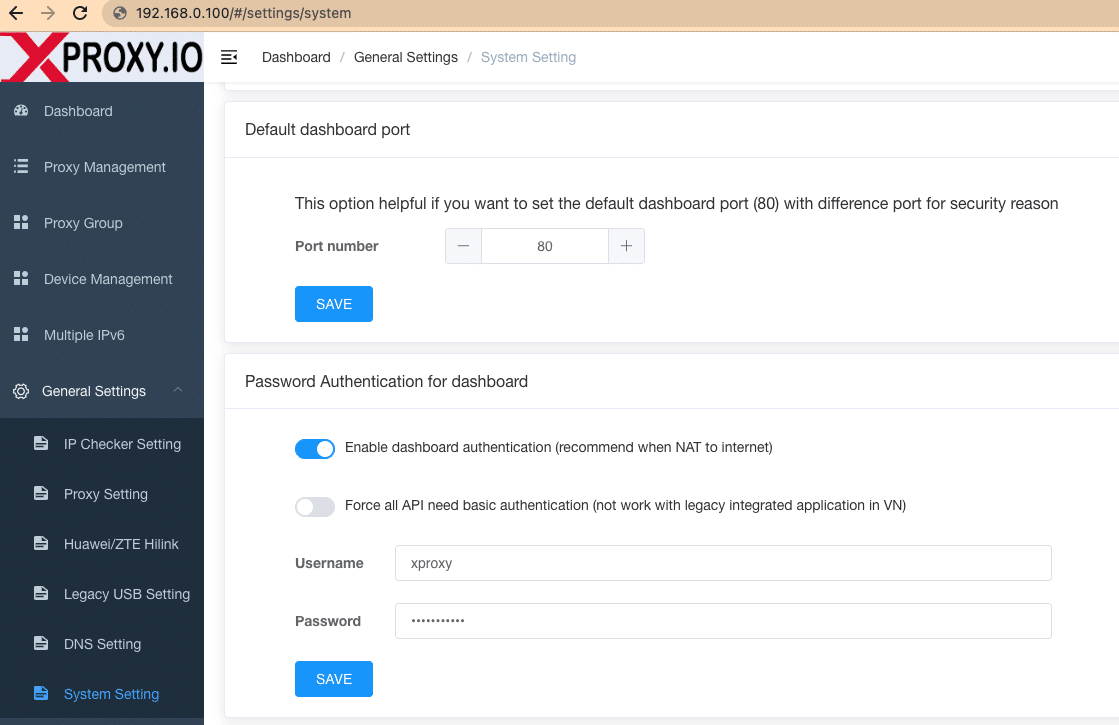
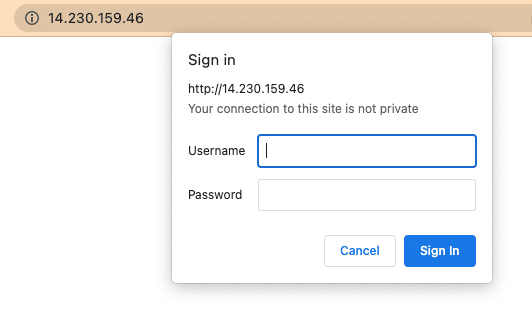
XProxy has integrated a free Dynamic DNS service to address the issue of the modem's public IP changing in most cases. This means that you no longer need to worry about the public IP and can access the system using your own domain instead.
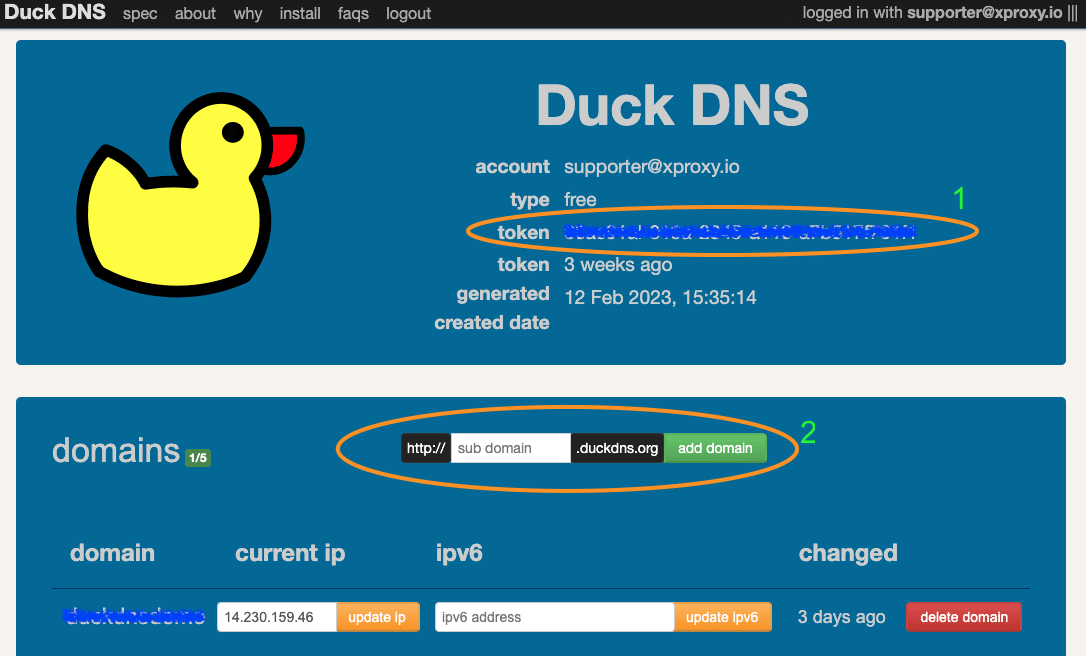
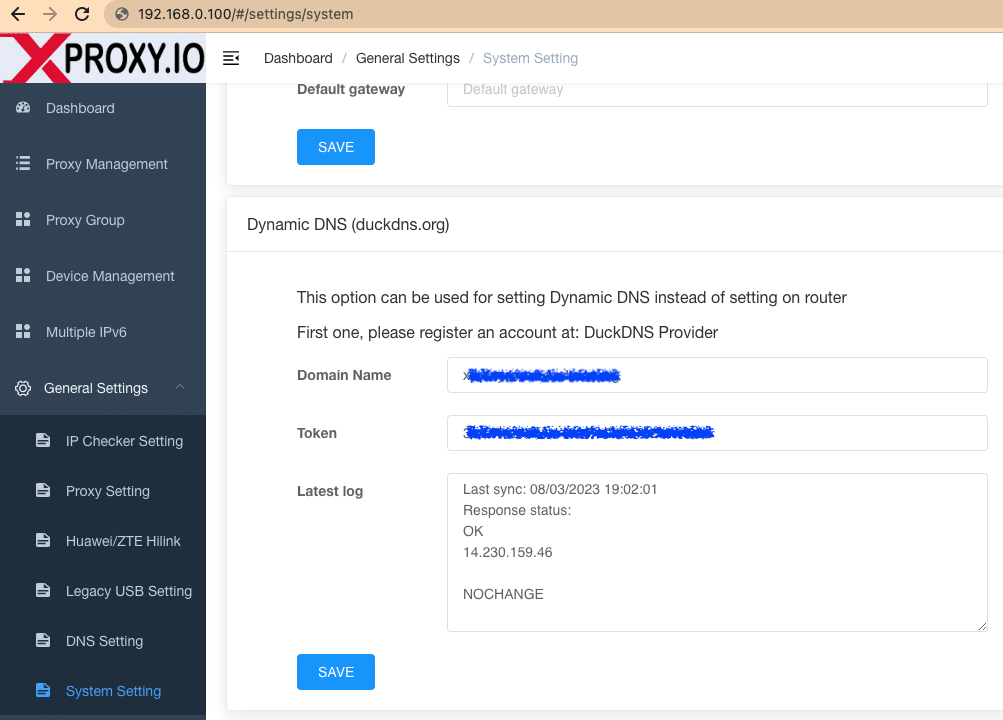
Now you can access dashboard of XProxy via domain and XProxy will automatically periodically update the Public IP to this domain. You can also use this domain as host of proxies generated in format http, socks5... Details on how to use proxies genenerate in this tutorial.
In case you set up more than 1 XProxy Server in the same LAN, we have a tutorial on how to use Virtual Server to NAT multiple XProxy Servers.