Have you ever been meticulous in managing your online accounts, only to be hit by sudden bans or restrictions?
Despite employing the best proxies and anti-detect tools, do you find your accounts still at risk?
Are you in search of a VPN solution to replace your current proxy setup?
Do you suspect your http or socks5 proxy might be leaking information?
Are you keen to find a solution that masks your proxy use from platforms like Facebook, Twitter, eBay, Amazon, Etsy, and more?
.jpg)
If any of the above questions resonate with you, know that you're not alone. Many users managing multiple high-value accounts across various platforms share these concerns. Traditional proxy solutions often don't provide the degree of anonymity and security required to prevent detection or avoid bans.
Enter XProxy, a game-changer in the realm of online privacy and security. XProxy offers a unique combination of VPN and UDP Proxy features, setting it apart from the competition. XProxy takes pride in being the first to provide a perfect VPN solution sourced directly from Mobile networks. This feature not only enhances your connection speed but also guarantees almost complete anonymity on multiple platforms.
This article will guide step by step to setup OpenVPN with XProxy and how to use UDP proxy.
Understanding the various practical applications of XProxy's VPN features can demonstrate why it's an invaluable tool for today's digital users. Let's delve into these use cases:
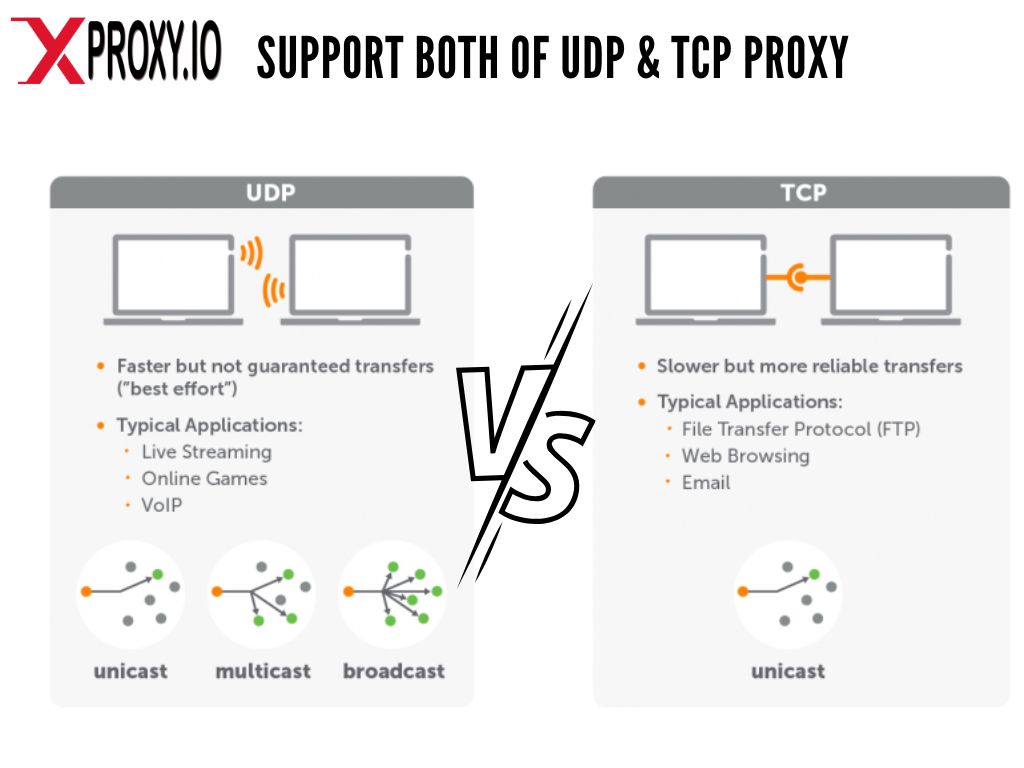
XProxy's VPN leverages the speed and anonymity of a UDP Proxy, which means it provides several key advantages over traditional proxies.
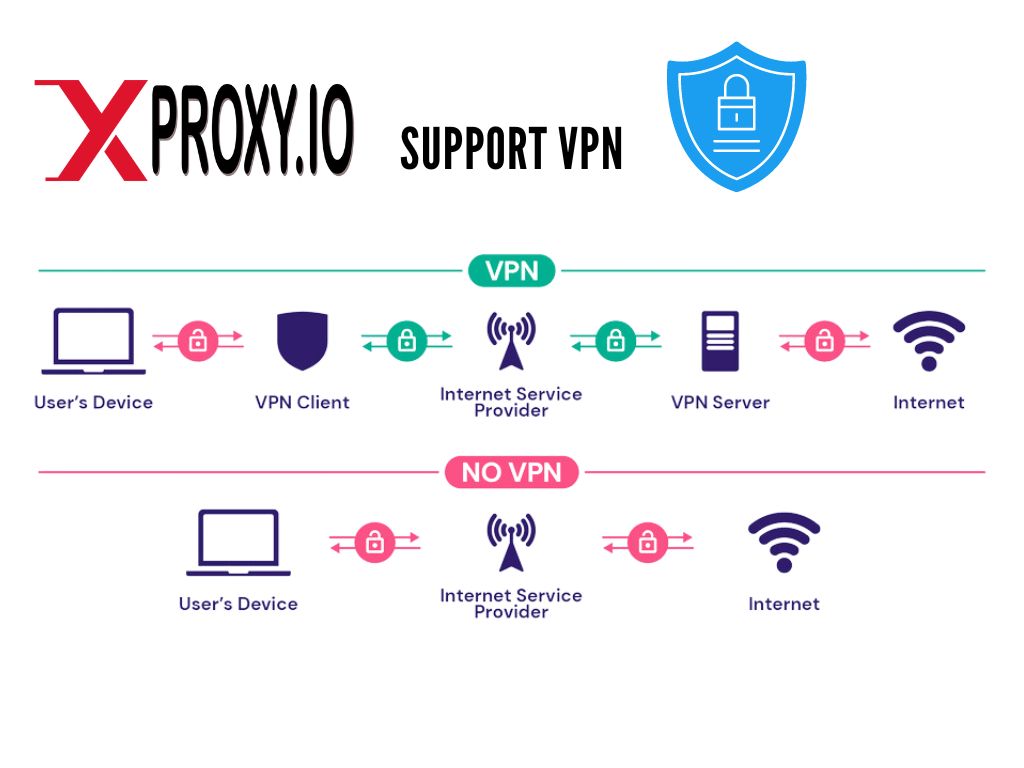
XProxy's VPN serves as a robust shield for your IP address, providing critical privacy benefits.
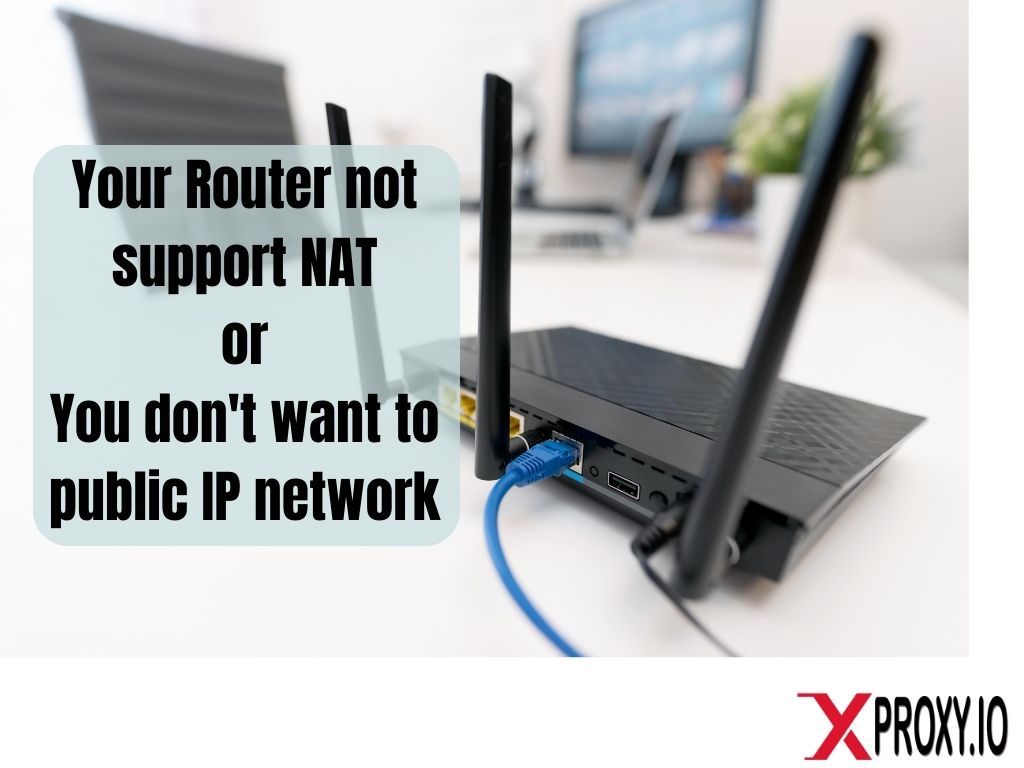
Home network equipment often poses configuration challenges. Luckily, XProxy's VPN offers effective solutions.
Setting up OpenVPN with XProxy involves a three-step process: preparing your VPS, setting up the OpenVPN on XProxy server, and setting up the OpenVPN on the client.
Before you can start using OpenVPN with XProxy, you need to set up OpenVPN on your VPS.
Login VPS via SSH
ssh root@<<IP_OF_YOUR_VPS>>
Update and upgrade library of VPS
sudo apt update && sudo apt upgrade -y
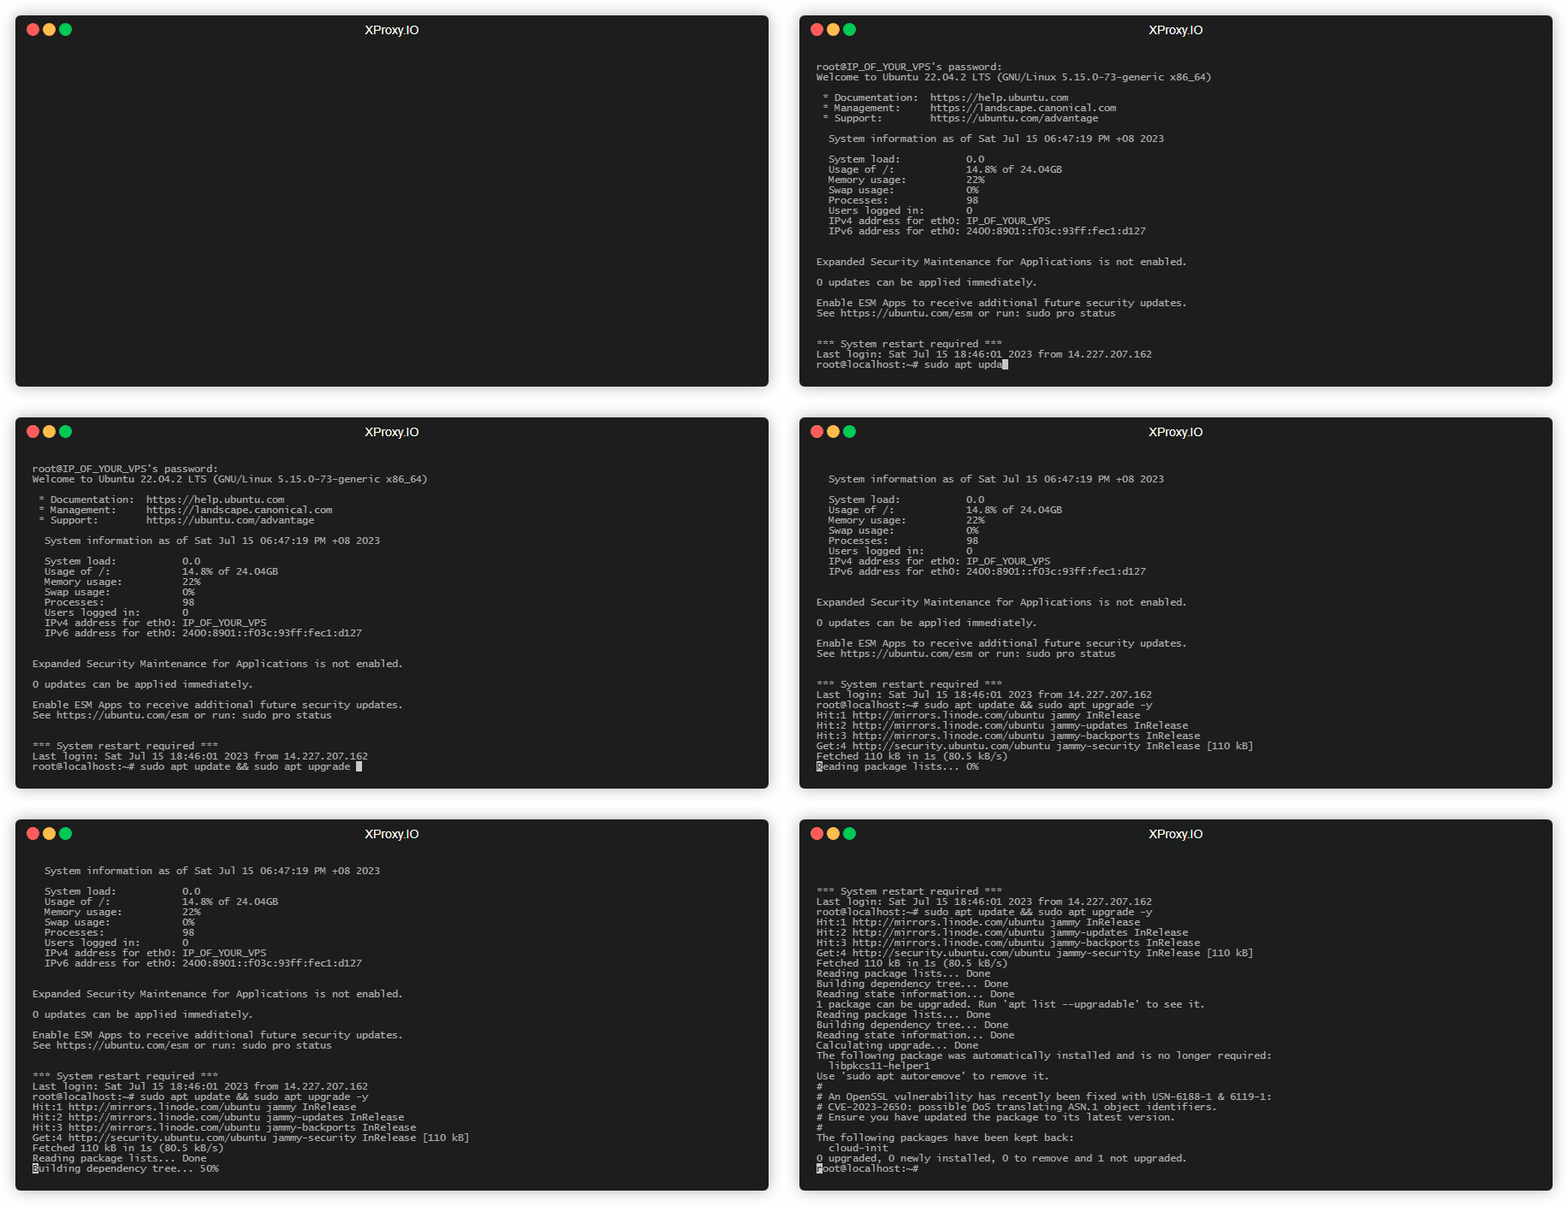
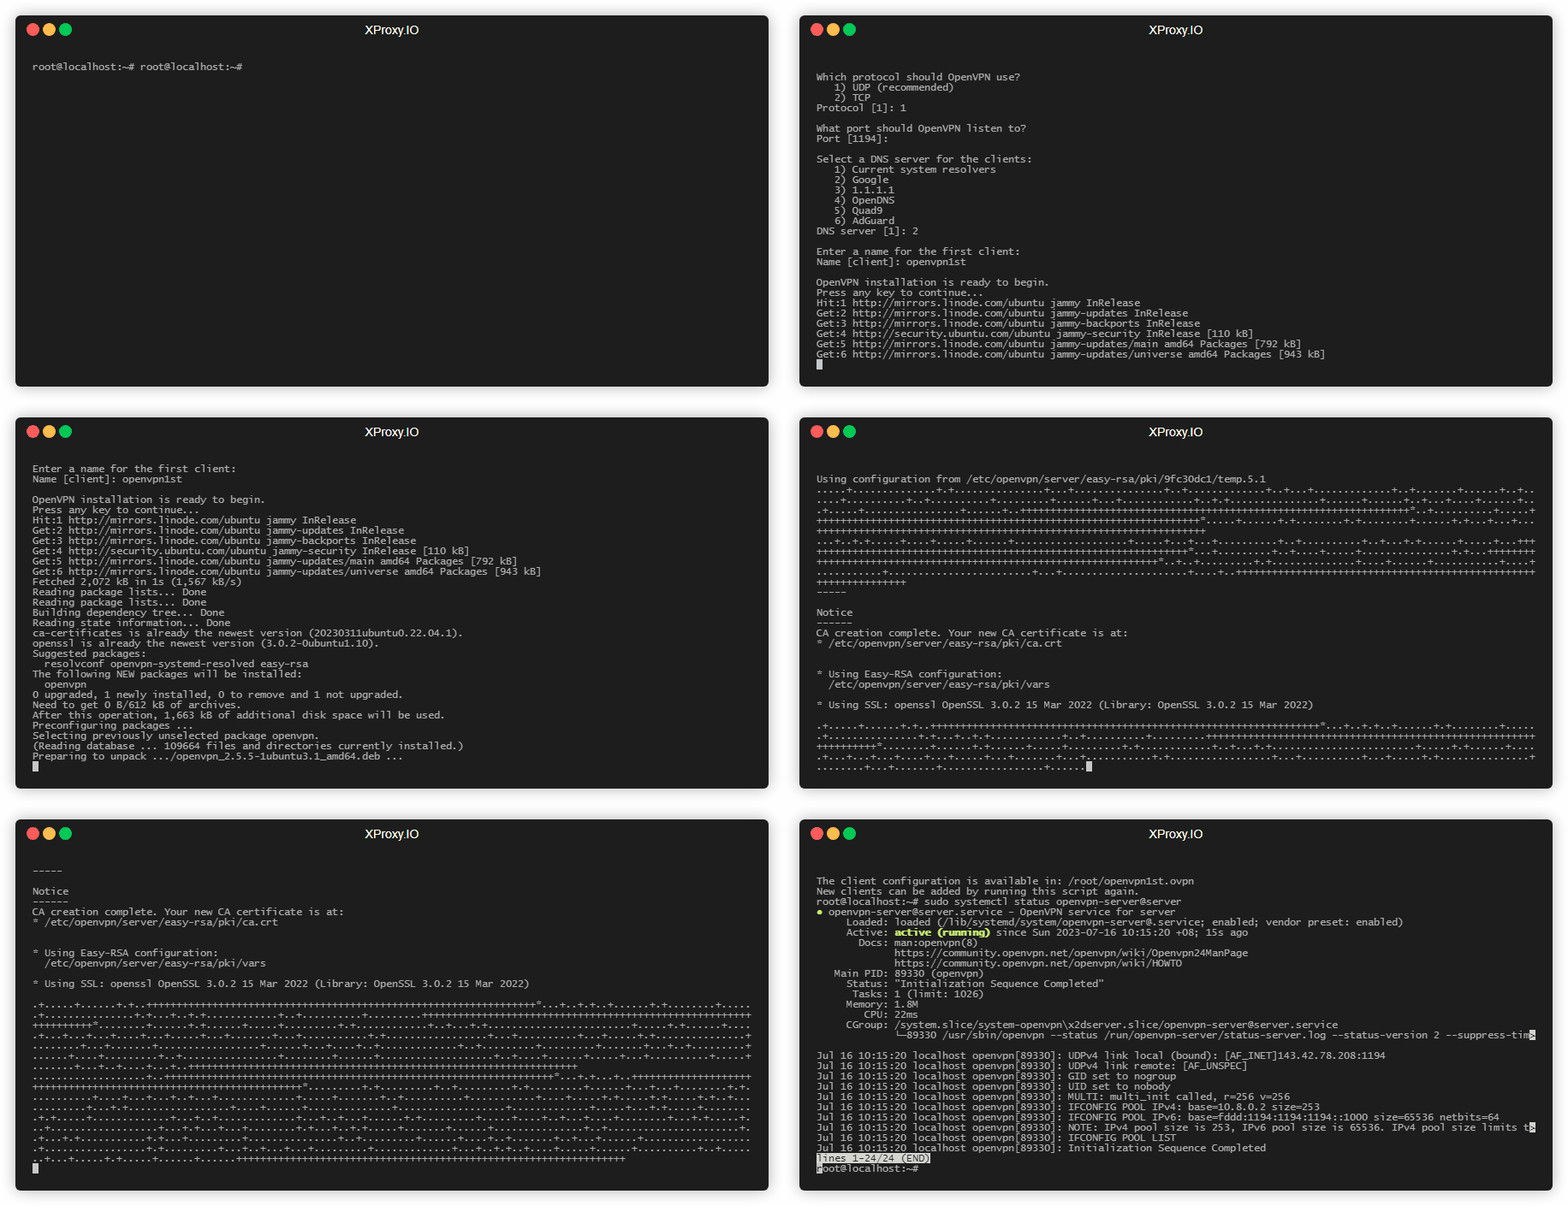
Download and Run script ubuntu-22.04-lts-vpn-server.sh from of Nyr
Download
wget https://raw.githubusercontent.com/Nyr/openvpn-install/master/openvpn-install.sh -O ubuntu-22.04-lts-vpn-server.sh
Set permission of script
chmod -v +x ubuntu-22.04-lts-vpn-server.sh
Run script
sudo ./ubuntu-22.04-lts-vpn-server.sh
Check status of OpenVPN running okay or not
sudo systemctl status openvpn-server@server
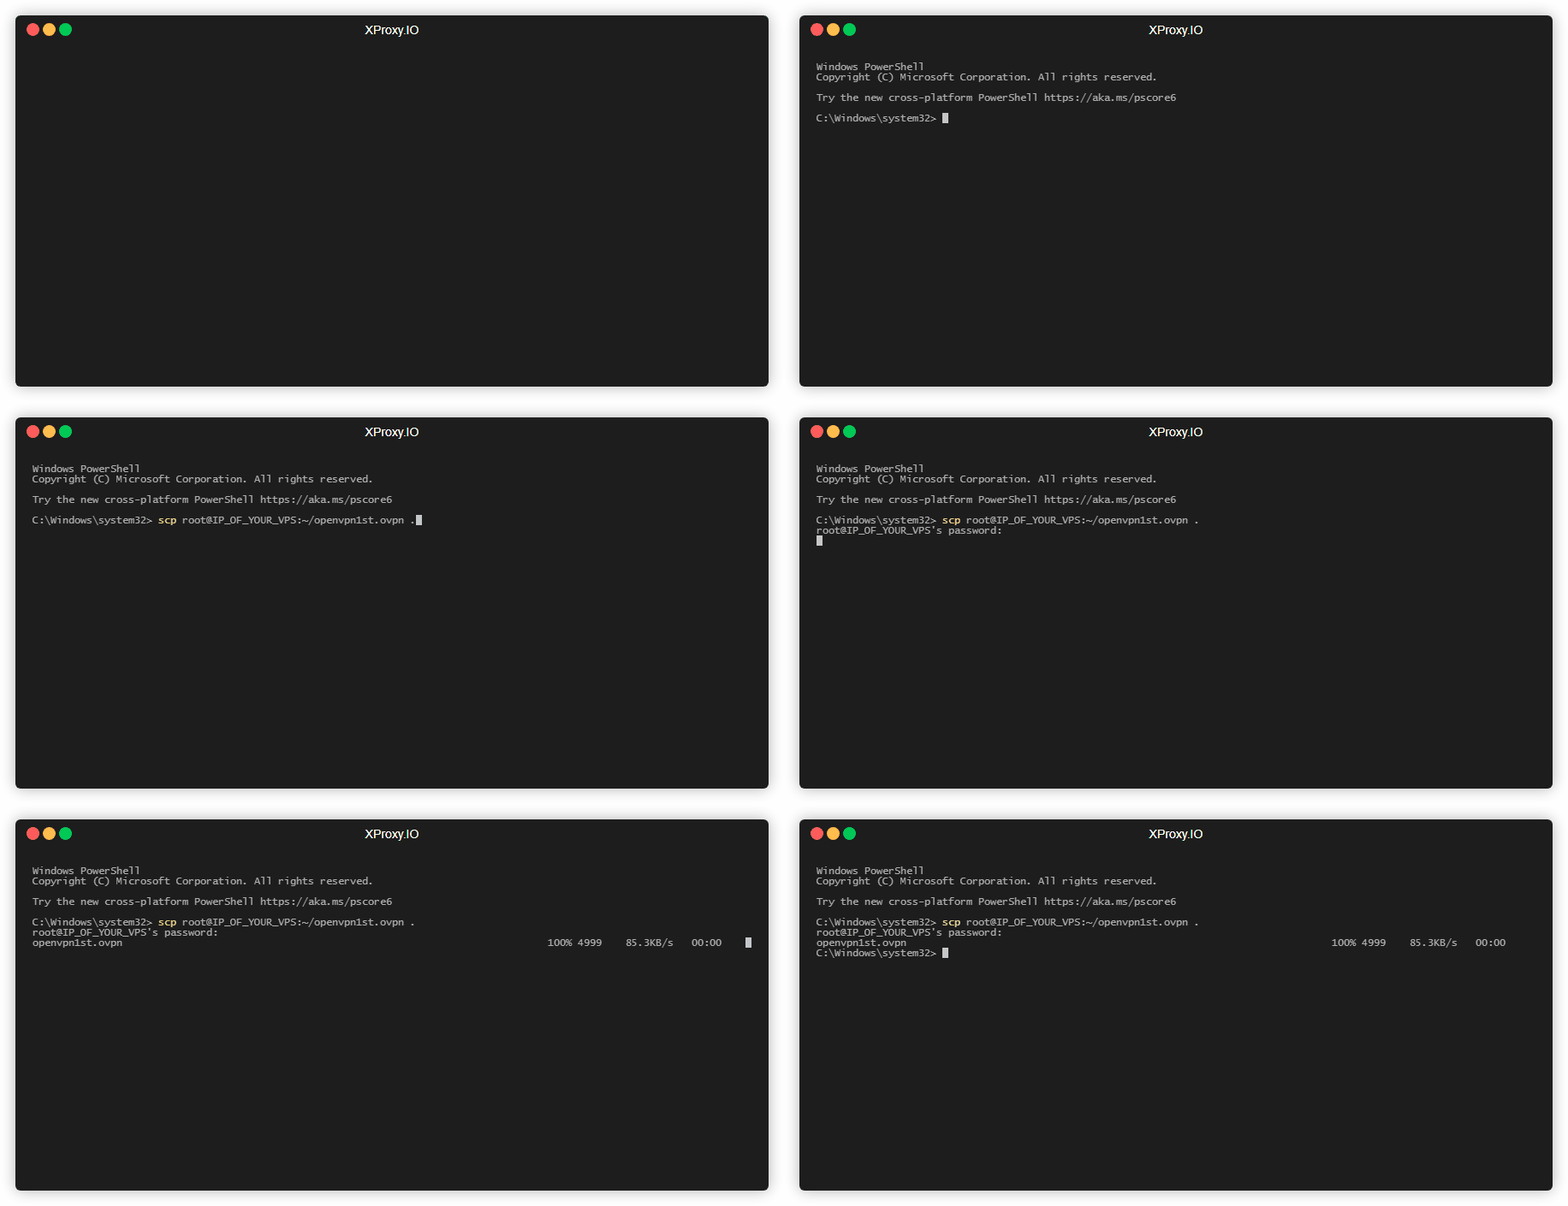
Download file openvpn1st.ovpn from VPS to your PC
scp root@<<IP_OF_YOUR_VPS>>:~/openvpn1st.ovpn .
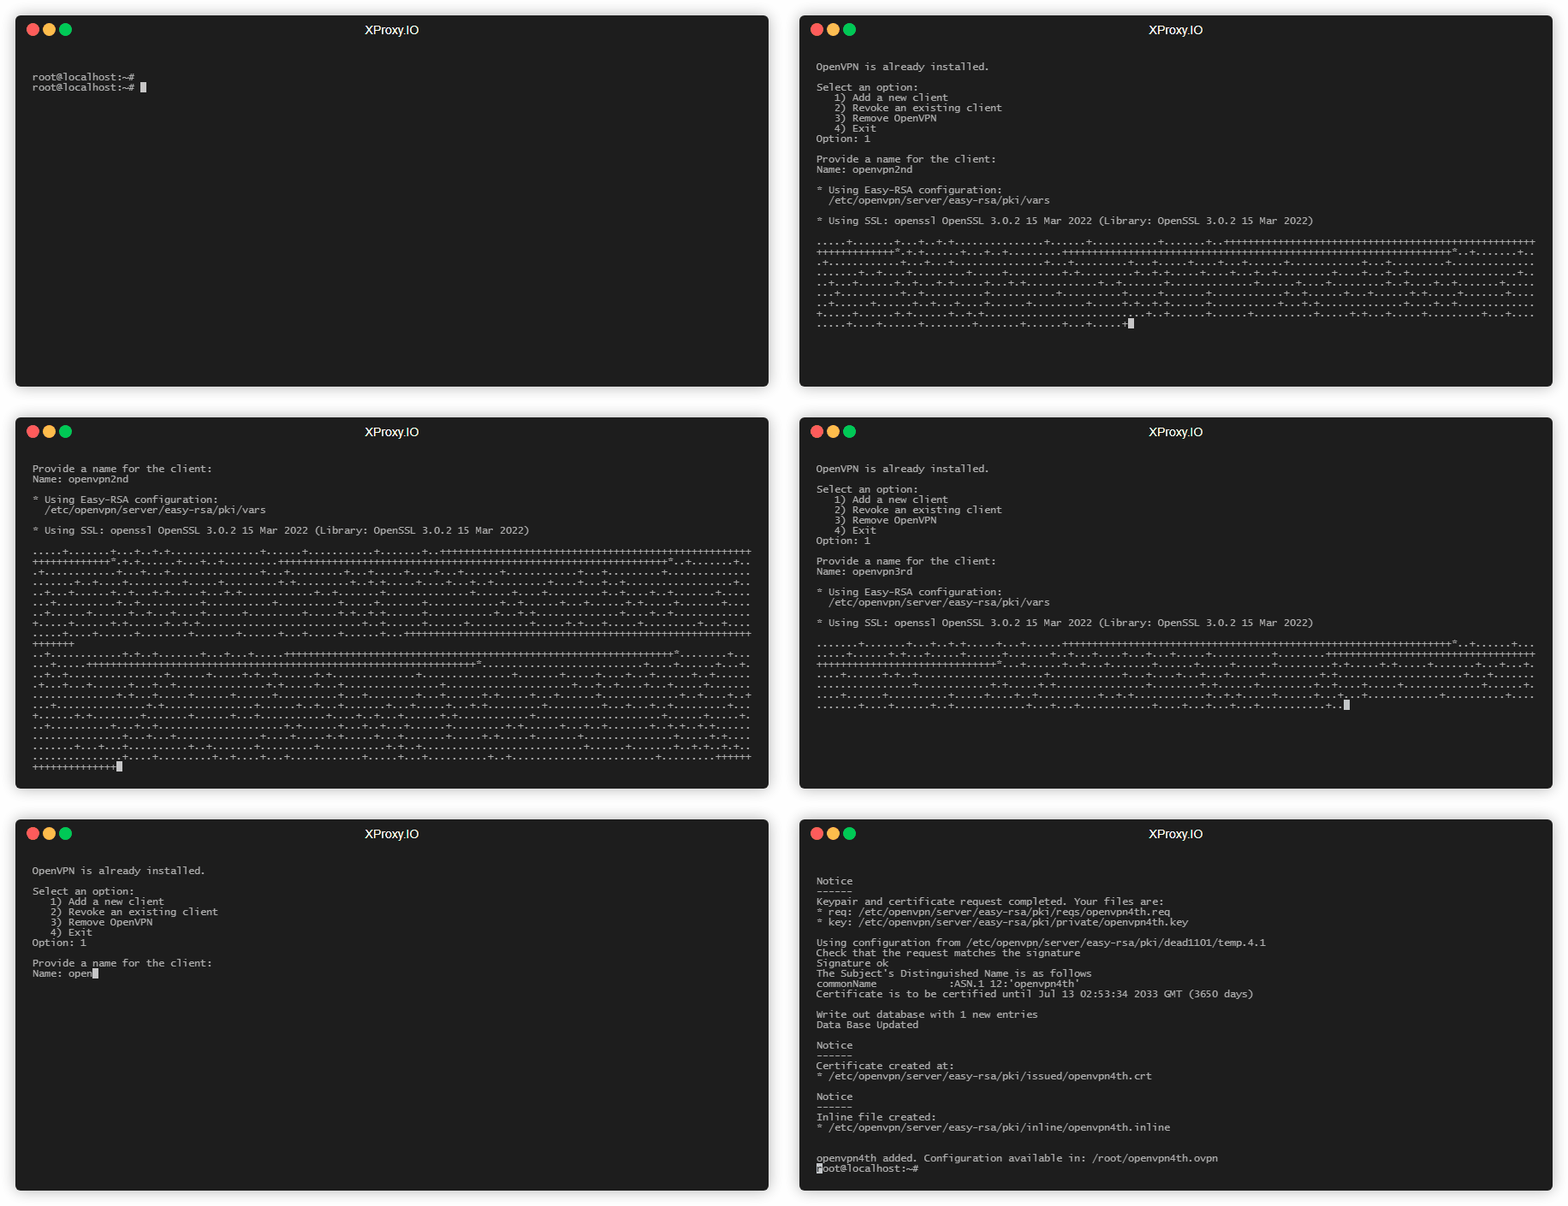
This file openvpn1st.ovpn will set up your XProxy server. You will need more clients to connect to this VPN. If your team have 5 members , you will rerun this script next 5 times:
sudo ./ubuntu-22.04-lts-vpn-server.sh
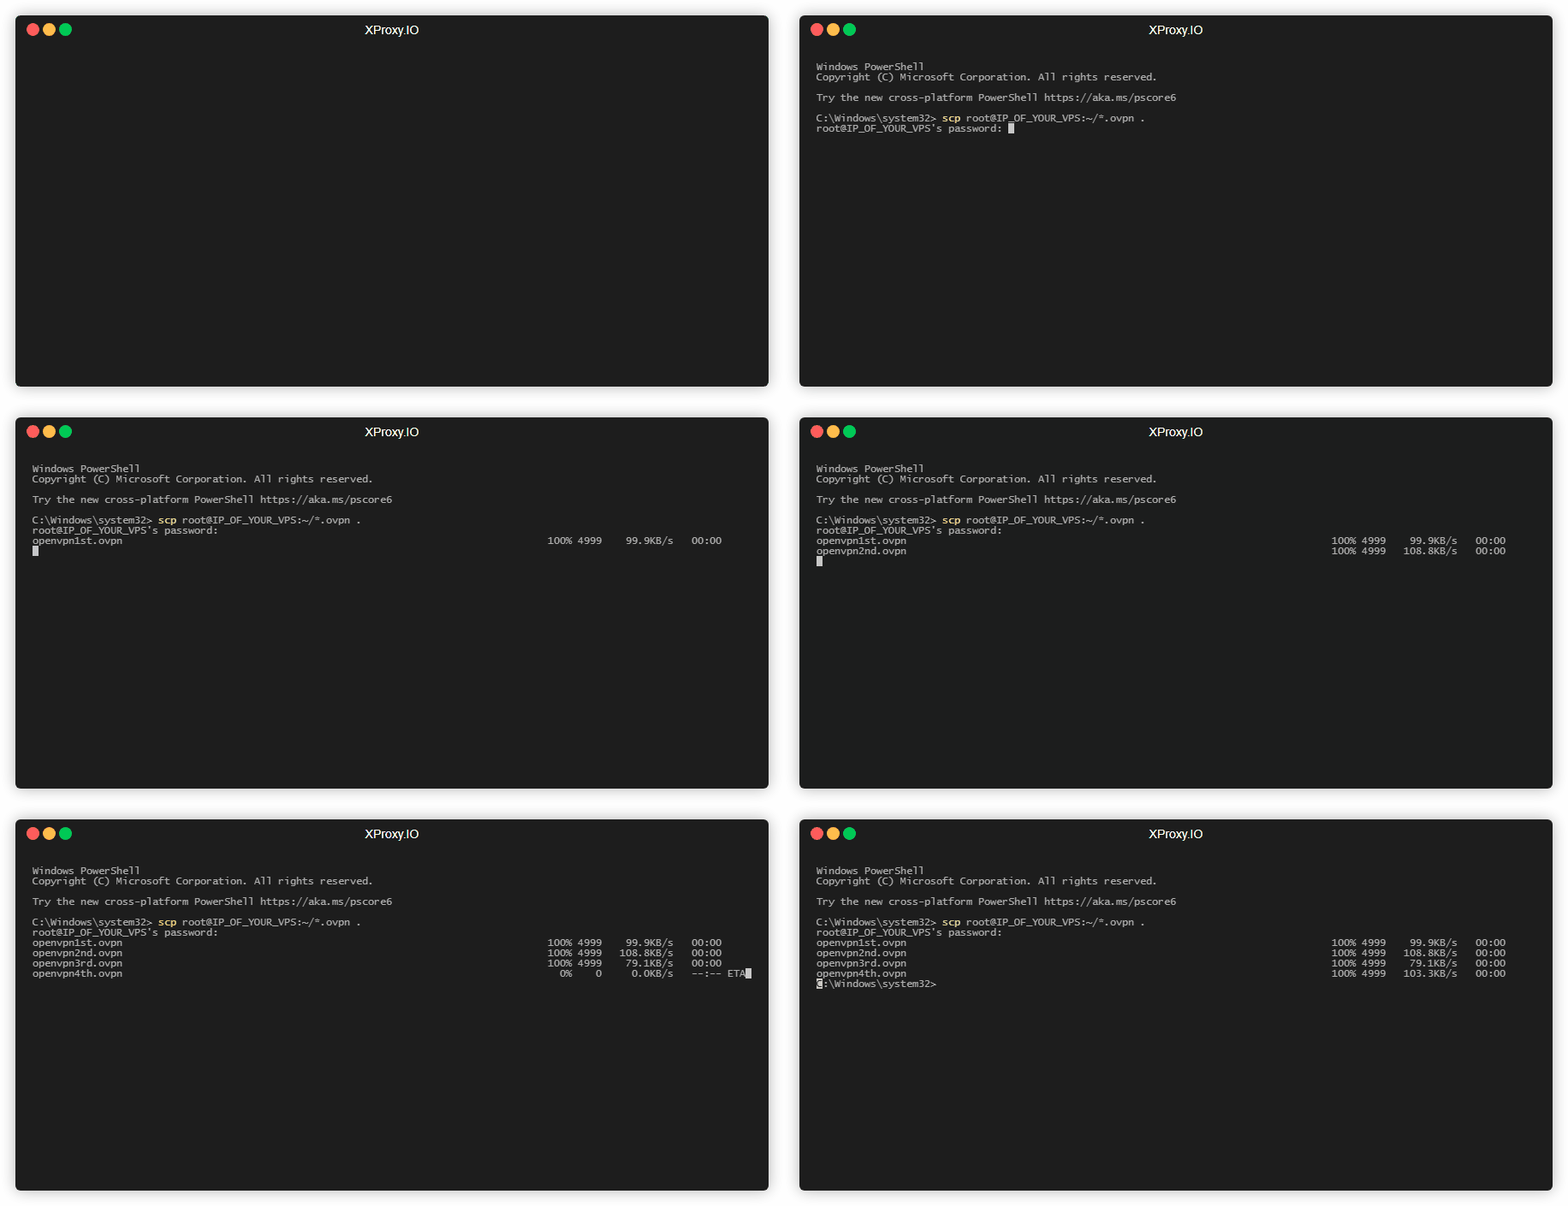
And download all files ovpn to your PC
scp root@<<IP_OF_YOUR_VPS>>:~/*.ovpn .
Once you've set up OpenVPN on your VPS, the next step is to integrate it with XProxy.
VPN feature has been supported since version 19.9. This step just needs to upload the openVPN file to the XProxy server.
Go to dashboard of XProxy and choose General Settings >> System Setting on left menu.
Scroll down to section of VPN tunnel setting
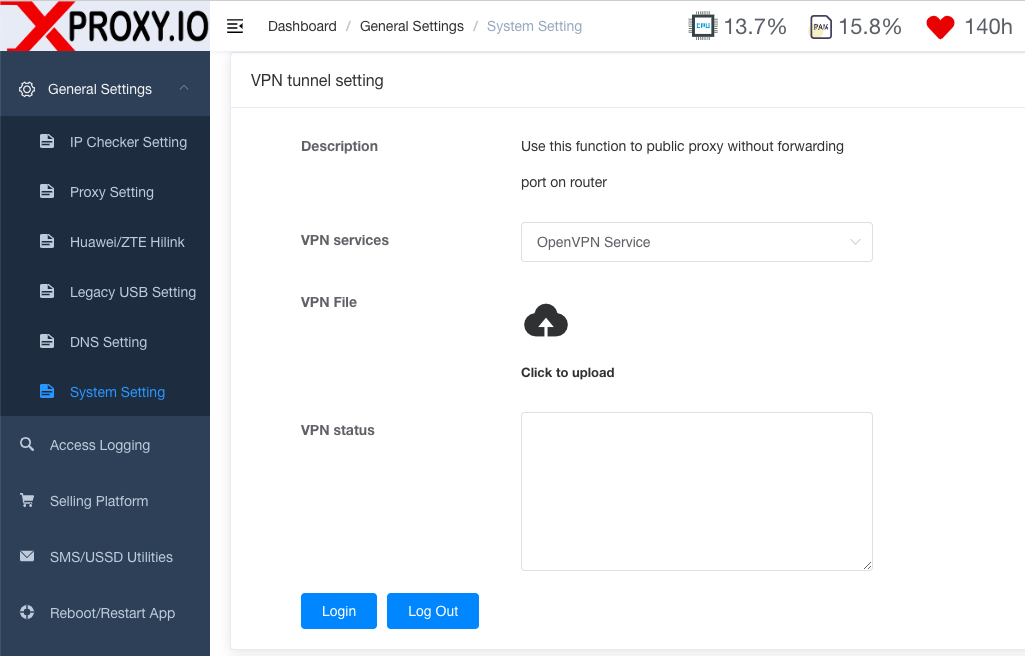
After uploading openVPN file, clink Login to connect VPN between XProxy server and VPS.
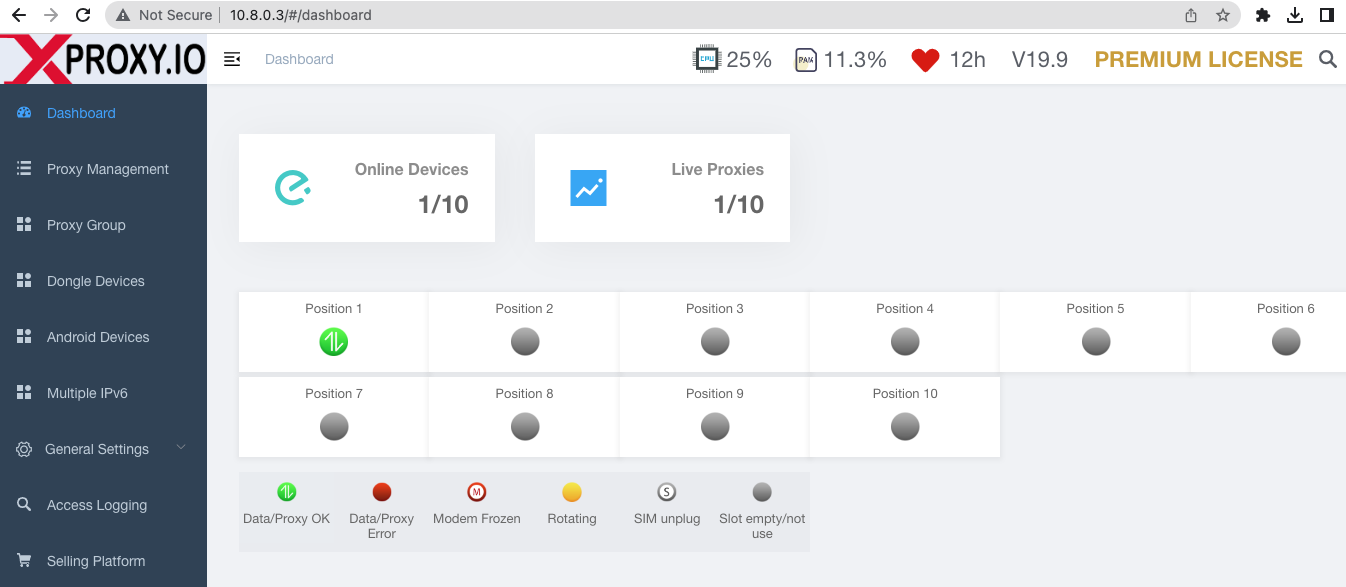
Please note the IP of XProxy server when connecting VPN to the VPS. We will use this IP in the section of how to use UDP proxy. In this guide, the IP of XProxy server when connecting to VPN is 10.8.0.3.
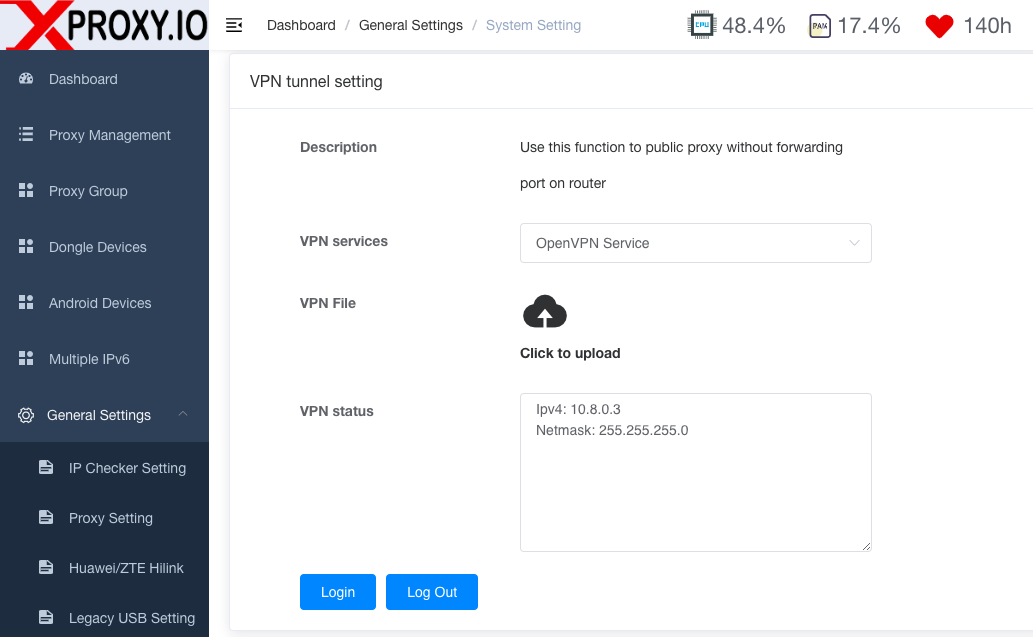
Now your XProxy server and VPS have successfully established a VPN connection. Whenever you need to turn off the VPN connection between the XProxy server and the VPS, you just need to click Log Out.
After you've set up OpenVPN on your VPS and integrated it with XProxy, the final step is to prepare your client.
Download the official OpenVPN Connect client software. OpenVPN client supports many OS such as Windows, MAC, Linux, Android, iOS, ChromeOS.
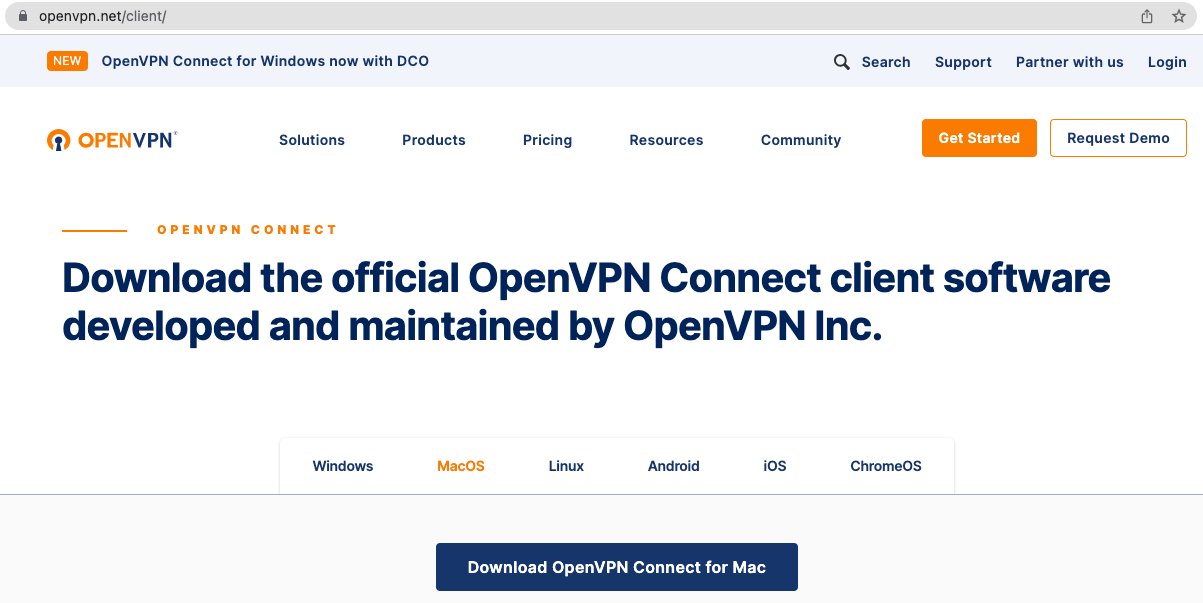
Install the OpenVPN client software on your computer and import the openvpn2nd.ovpn file to connect VPNto the VPS and XProxy server.
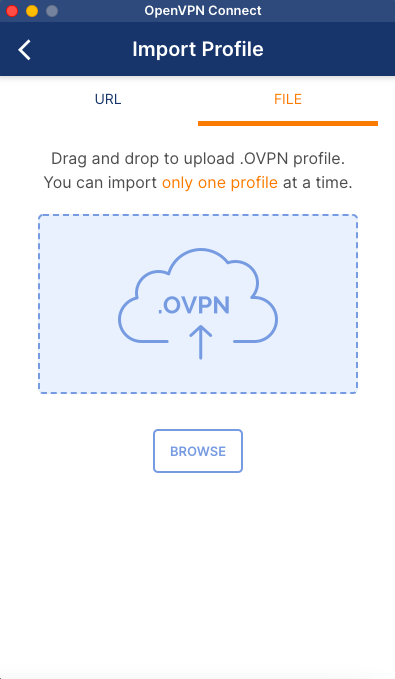
Remember not to use the openvpn1st.ovpn file, because this file is already installed on the XProxy Server.
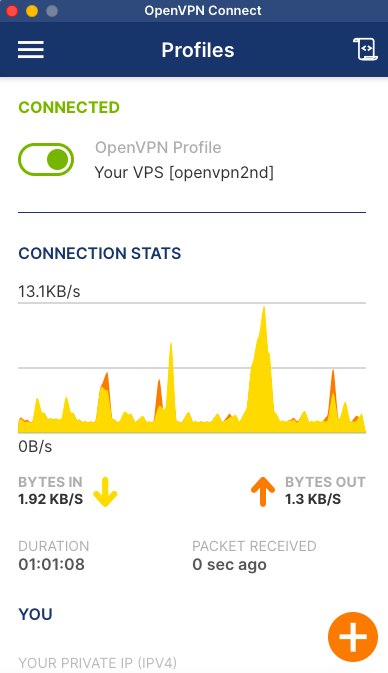
Each ovpn file can only be used with 1 client, if there is another client who wants to connect VPN to XProxy server, create more ovpn files from VPS according to this step guide.
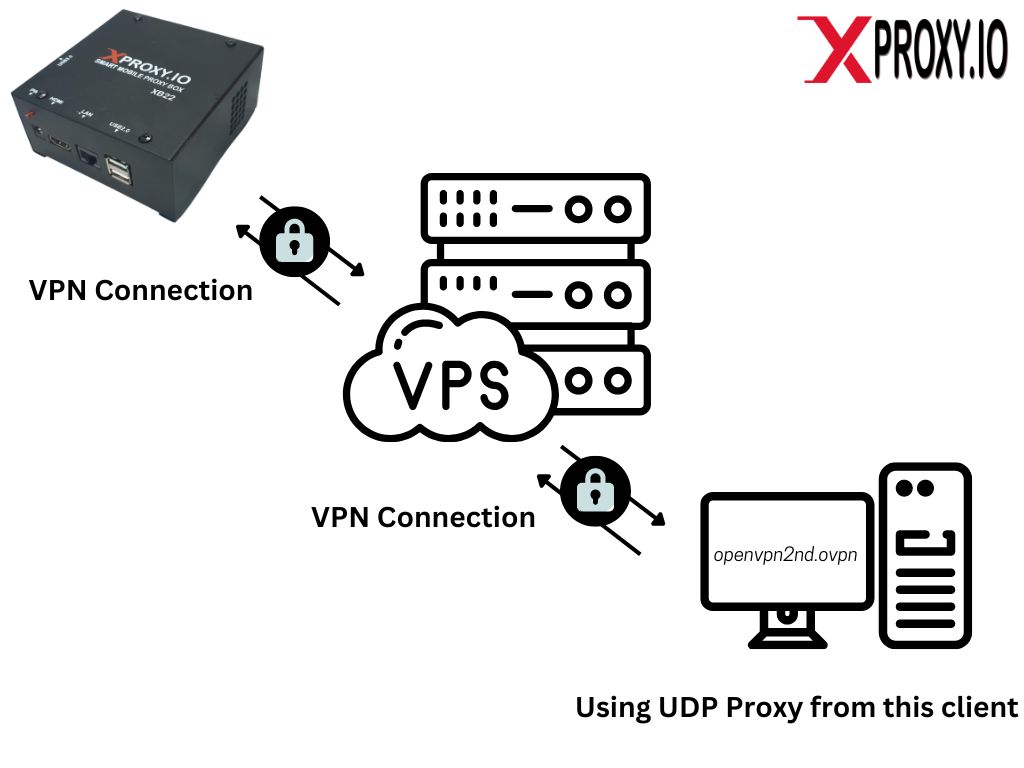
At this step you have completed the VPN connection between VPS and XProxy Server and client. The below image shows the VPN connection model, in which the client is connecting to the VPN using the openvpn2nd.ovpn file. In this section we will work on the 2nd client to use the mobile proxy created from the XProxy server in UDP protocol.
From the client, you can access the XProxy Server using the IP address at this step. This IP is the local IP of the XProxy server in the VPN network.
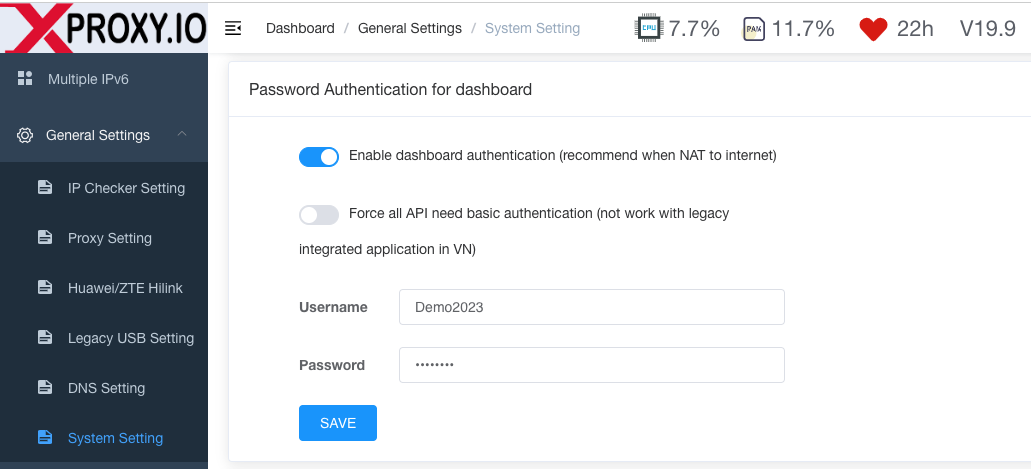
You can configure Password Authentication for dashboard, in case you want to restrict client access to XProxy server dashboard and instead clients are only allowed to use UDP proxy generated by XProxy system.
Go to General Settings > System Setting on left menu, scroll down to section Password Authentication for dashboard. Turn on the configuration : Enable dashboard authentication (recommend when NAT to internet) and input Username , Password. Now any client want to access dashboard of XProxy server, required Username and Password.
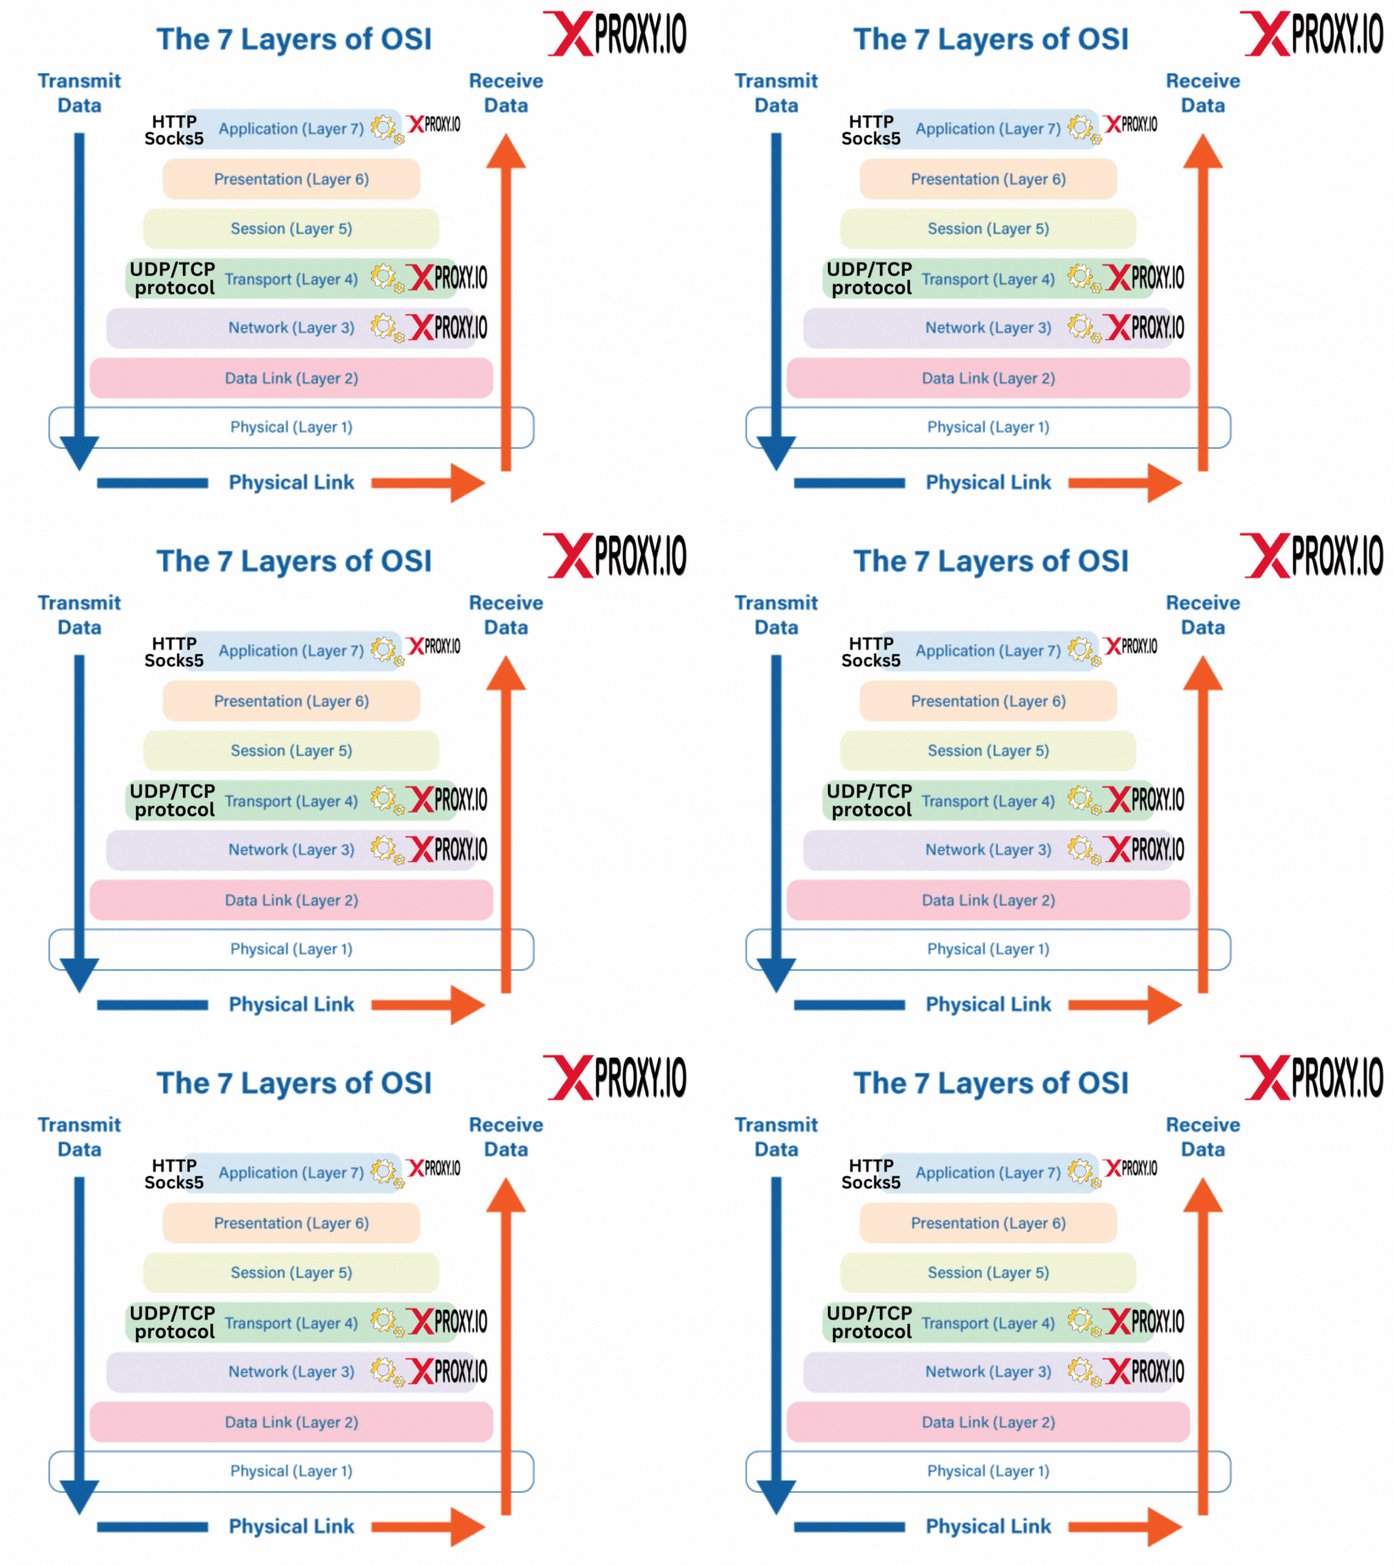
VPN of XProxy is implemented at layer 3 (Network layer), layer 4 (Transport layer) and layer 7 (Application layer) of the OSI network model. So you can completely trust when using a proxy created by XProxy that will be completely anonymous with all platforms.
To use UDP proxy, you just need to connect to Socks5 port created by XProxy Server. Note that the host IP of XProxy in the VPN model is 10.8.0.3 at this step.

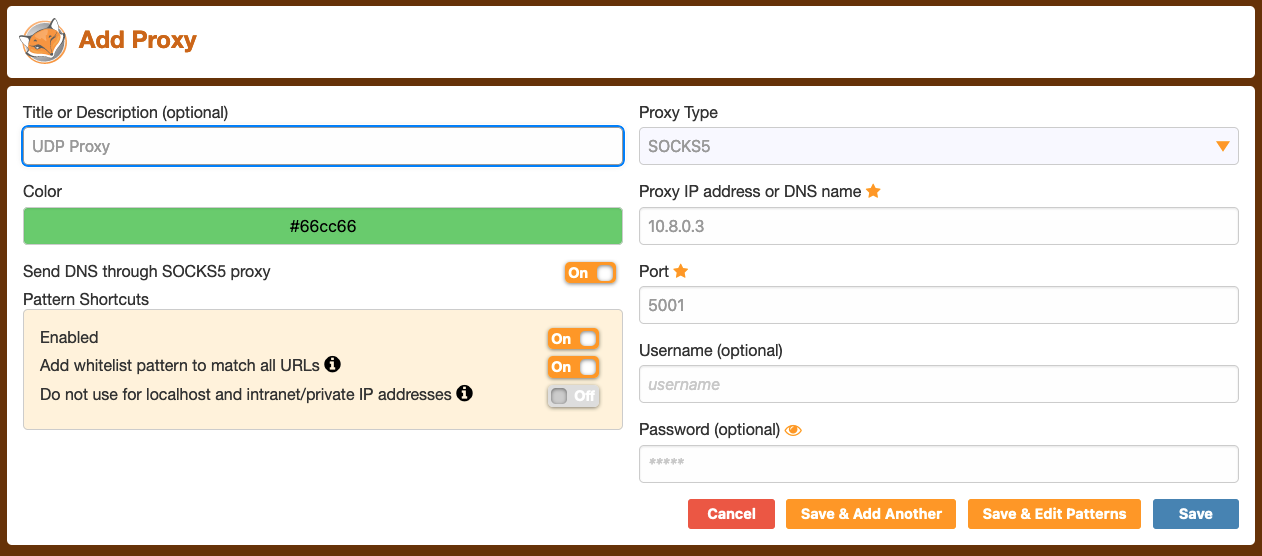
In the VPN model, your proxy is almost completely secure, but if you need to configure authentication for each proxy port, you can see more instructions here.
In case you want to connect via TCP proxy, you can use HTTP port. But if you need anonymity, we recommend using Socks5, this protocol will be configured over UDP almost completely anonymously to the platforms that want to detect your proxy.
Throughout this article, we have examined the importance of secure and anonymous online activities, especially for those managing high-value accounts across multiple platforms. Traditional proxy solutions often fail to provide the required degree of anonymity, which can lead to unexpected bans or restrictions. However, with XProxy's innovative combination of VPN and UDP Proxy features, users can experience enhanced connection speeds, nearly complete anonymity across platforms, and robust security.
The article has also provided comprehensive step-by-step guidance on setting up OpenVPN with XProxy and how to use UDP proxy via VPN. The process of preparing your VPS, setting up the OpenVPN on the XProxy server, setting up the OpenVPN on your client, and using the UDP proxy have all been covered in detail.
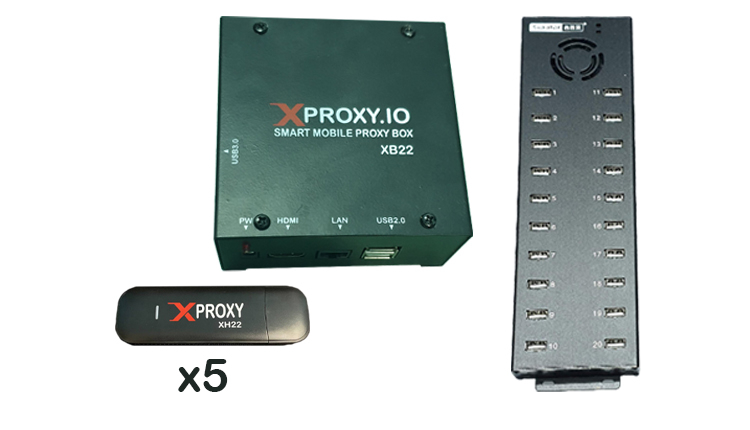
All features of XProxy listed here.
If you have not time to researching and implemeting, we are offering FREE Mobile Proxy license software for 5 dongles. You can Getting Started free mobile setup here. It will out of offering soon, hurry up and starting today!
If you found this information helpful, we invite you to stay connected with us on our Telegram Channel for more updates and valuable content.